Application introduction
Jellyfin is an open source and free media server software that focuses on local media management and streaming media services. Users can centrally manage videos, music, pictures and other files through it, and play them on multiple devices over the network. It supports functions such as transcoding, subtitles, and plug-in extensions.
Supported versions: NAS firmware version 1.2.0.2121 and above, VM application version 1.2.0.0313 and above.
Core functions
-
Media library management:
-
Automatically categorises movies, series and music, and supports automatic metadata capture (based on databases such as TMDB) (cover art, synopsis, cast).
-
Support for multiple formats: MKV, MP4, FLAC, MP3, etc.
-
Cross-platform streaming:
-
Supports playback on the web, mobile (Android/iOS), TV (Android TV/Apple TV) and game consoles (e.g. Xbox).
-
Real-time transcoding: dynamically adjusts the resolution and bitrate according to the performance of the device (requires hardware acceleration, such as Intel Quick Sync).
-
User rights control:
-
Create multiple user accounts and assign different media library access rights.
-
Parental controls: Restrict content ratings and playback times.
Default login information
-
Default access port: 8899
-
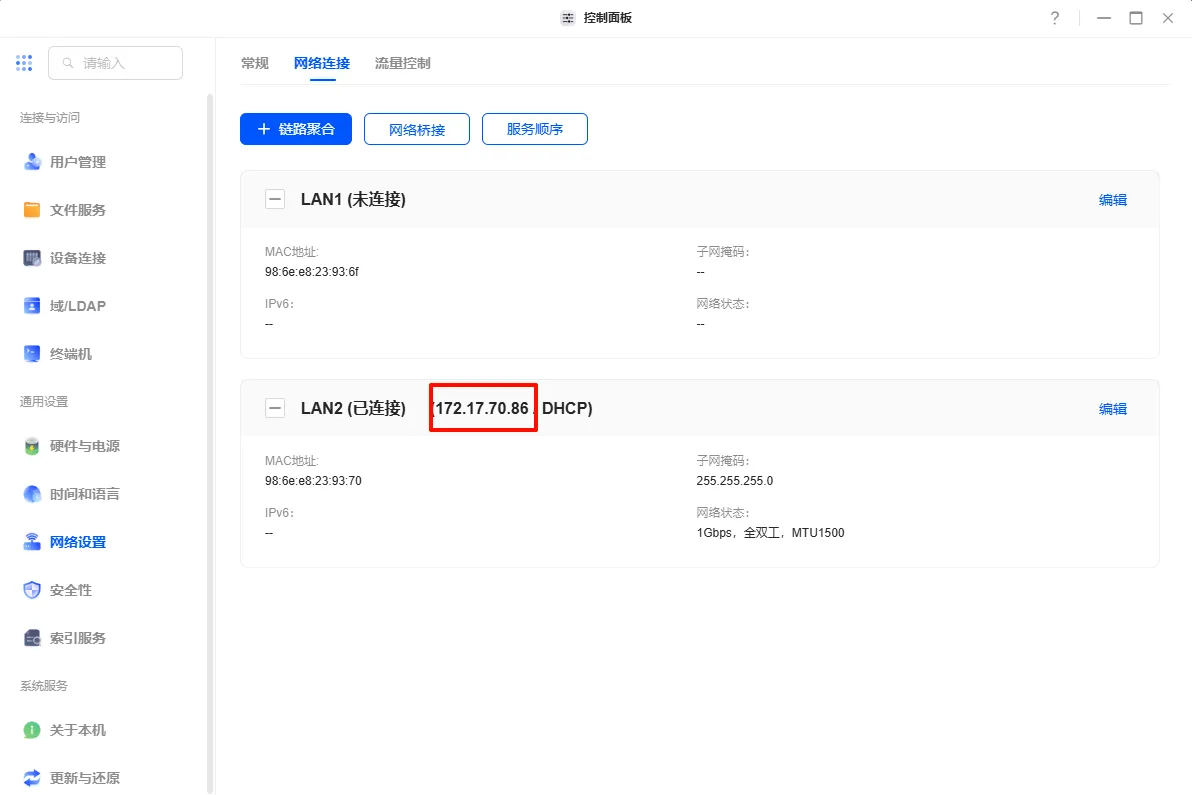
Local Area Network access: Enter
NAS_IP:8899(e.g.172.17.70.86:8899) in the address bar of your browser to access the Jellyfin web management interface. -
You can find the IP address of the NAS device in the control panel, under Network Settings, by clicking on Network Connections.
Note: Do not modify the port number of the WebUI, as this will disable the administrator's ability to use the Jump to function of the UGOS Pro application centre icon.
Resource access path
The folder path used to provide the jellyfin app media library can be mounted and read.
Minimum requirement: add at least 1 access path;
Maximum support: add up to 5 access paths.
Plugin download path
A maximum of one path can be added to store the application plug-ins.
Mounting rules for paths:
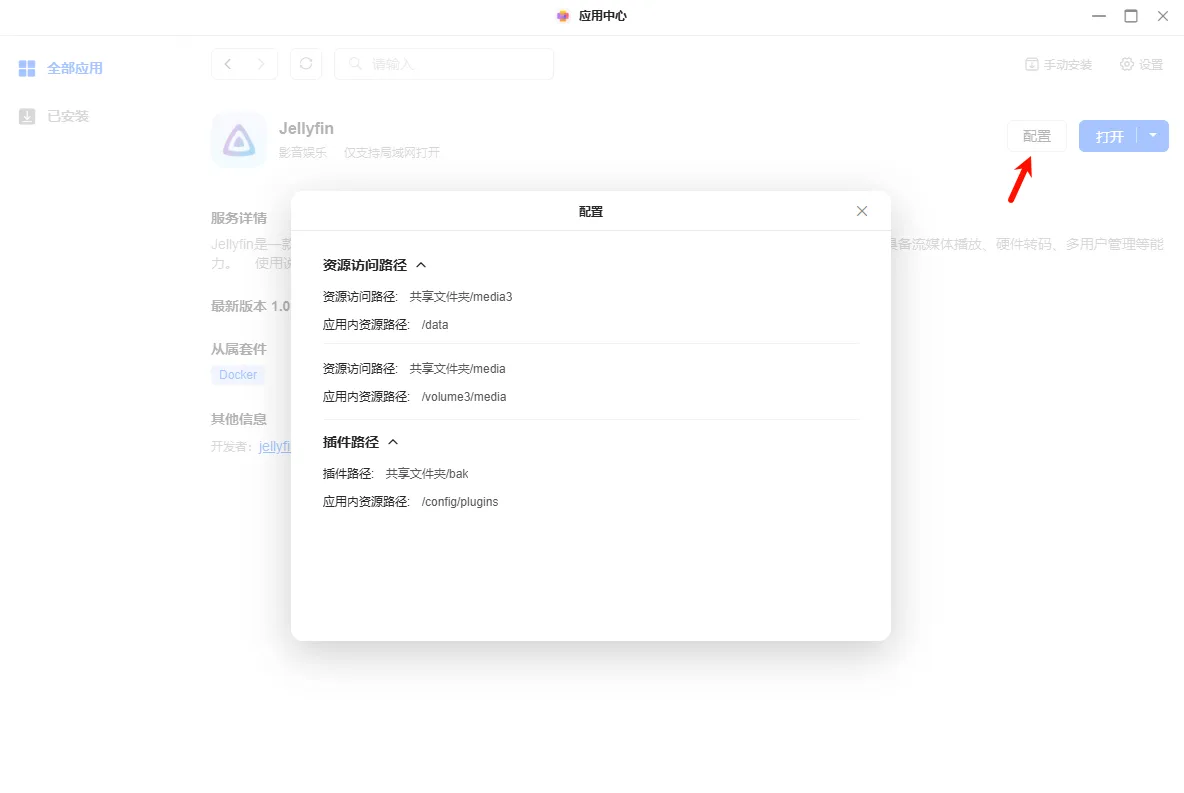
After the application is installed, you can view the corresponding path in [Configuration] on the application details page.
-
The default setting mounts the first resource access path to the application resource path
data; -
The container path names of the second to fifth mounted paths are the same as the mounted directories.
Installation guide
To install the Jellyfin app, please follow these steps:
-
Open the "App Centre" to find the Jellyfin app and click "Install".
-
Select the storage space and click "Next" to continue.
-
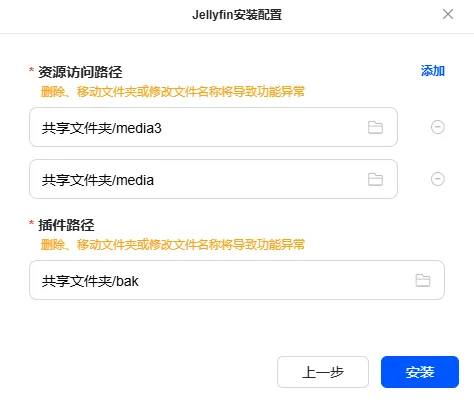
Set the resource access path. The app will read the movies in the path, matching movie posters and other data.
-
Set the plug-in path, and the app will read the plug-in information in the path. Click "Install" to continue.
Access the Jellyfin app
You can access the Jellyfin app in the following ways:
Method 1: Access via the App Center (administrators only)
On the local network, the administrator clicks the Jellyfin app icon and the system will jump to the login screen.
Method 2: Access via the local network (administrators and regular users)
-
Use
http://NAS_IP:8899访问 on the local network. For example, if the IP address of the NAS is 172.17.70.86, enterhttp://172.17.70.86:8899进行访问 in the browser. -
You can find the IP address of the NAS device in the control panel, under Network settings, by clicking on Network connection.
Method 3: Access via non-LAN (administrator only)
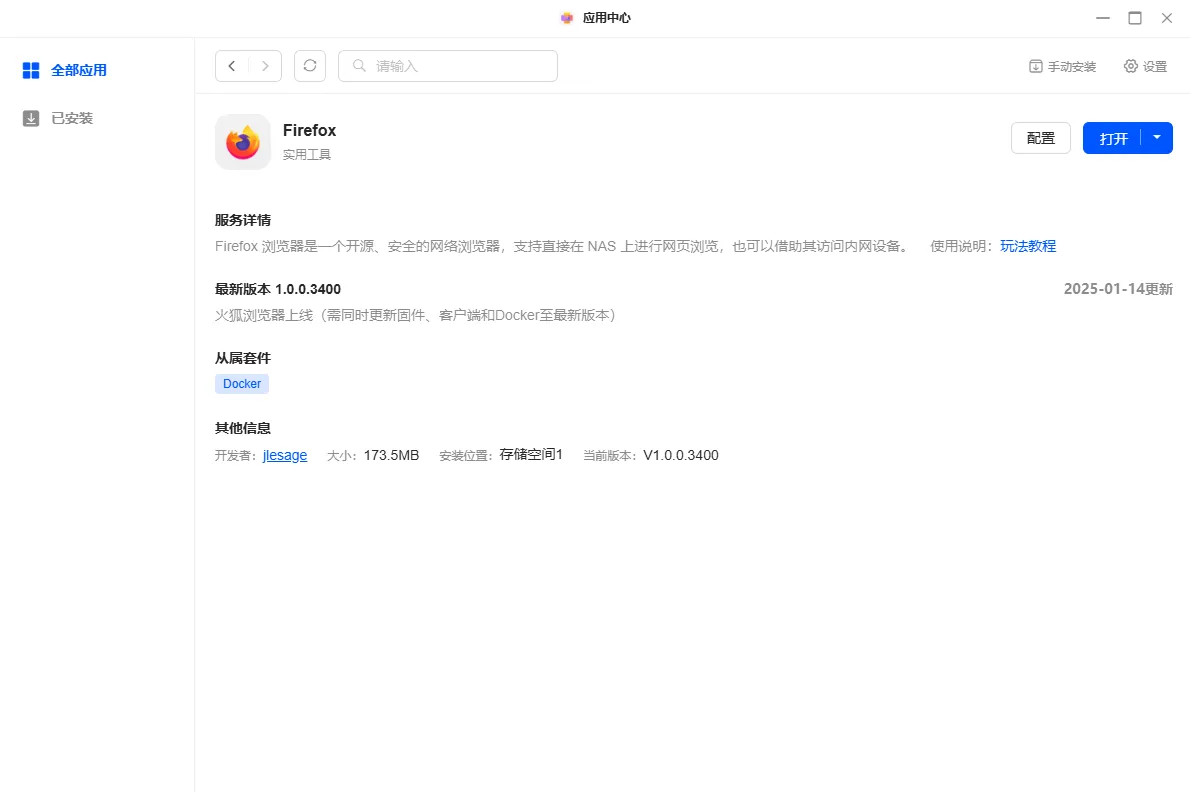
Administrators can access Jellyfin in a non-local area network environment using the Firefox app installed on the NAS system:
-
Log in to the NAS using UGREEN Link and open the Firefox browser.
-
After logging in to Firefox, use
http://NAS_IP:8899访问. For example, if the NAS IP is 172.17.70.86, enterhttp://172.17.70.86:8899进行访问 in the browser.
Note: When logging in on an untrusted device, it is recommended to clear the browser's access history in time to ensure data security.
Usage tips
-
When accessing the local area network, it is recommended to use a browser with better compatibility (such as Chrome or Edge) for the best experience.
-
When accessing the NAS on a public network, please pay attention to data security and avoid disclosing sensitive information.
-
Administrators should properly manage access passwords to ensure their security.
-
If multiple people are using the Firefox browser to access container applications, it is recommended that the automatic password saving function be disabled and the history be cleared regularly.
Initial configuration
When using Jellyfin for the first time, you need to complete the initial configuration:
-
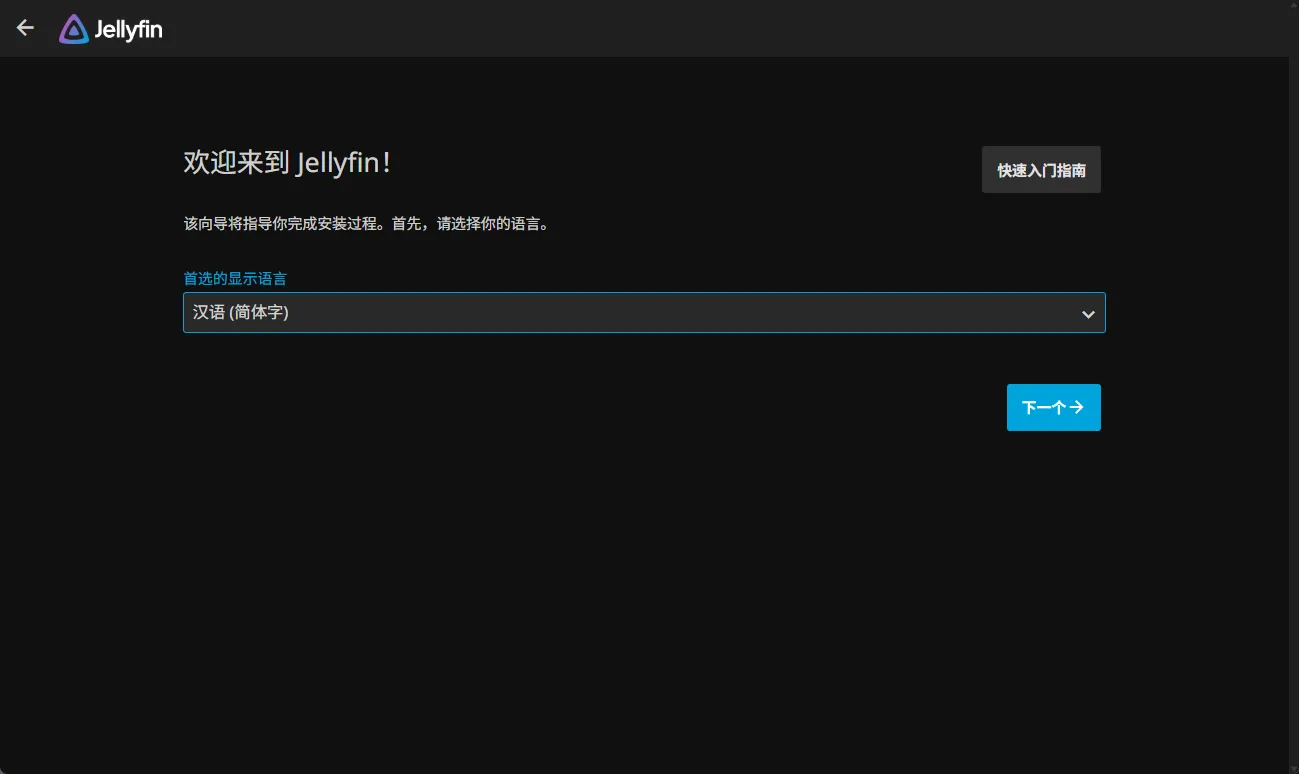
Set the display language
Select your preferred language (e.g. "Chinese Simplified ") and click "Next" to continue.
-
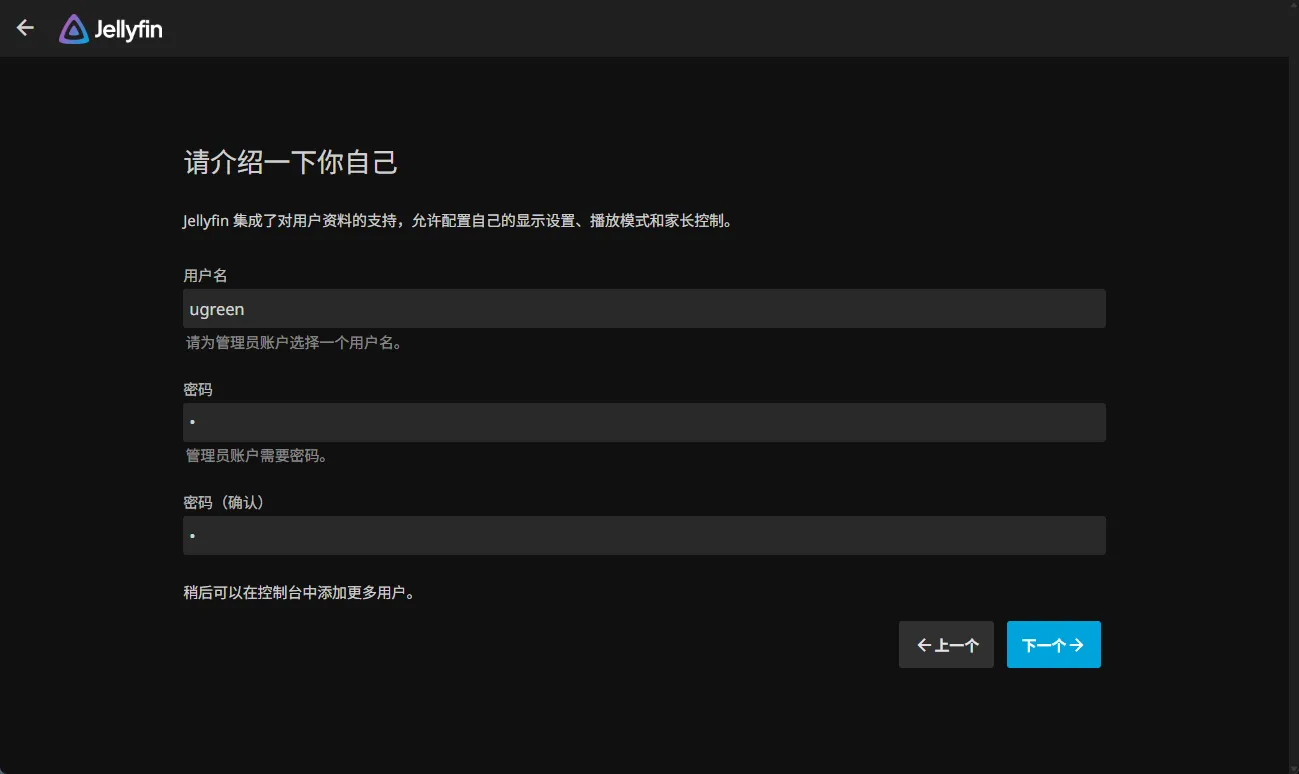
Configure account information
Set the username and password for the administrator account and click "Next" to continue.
-
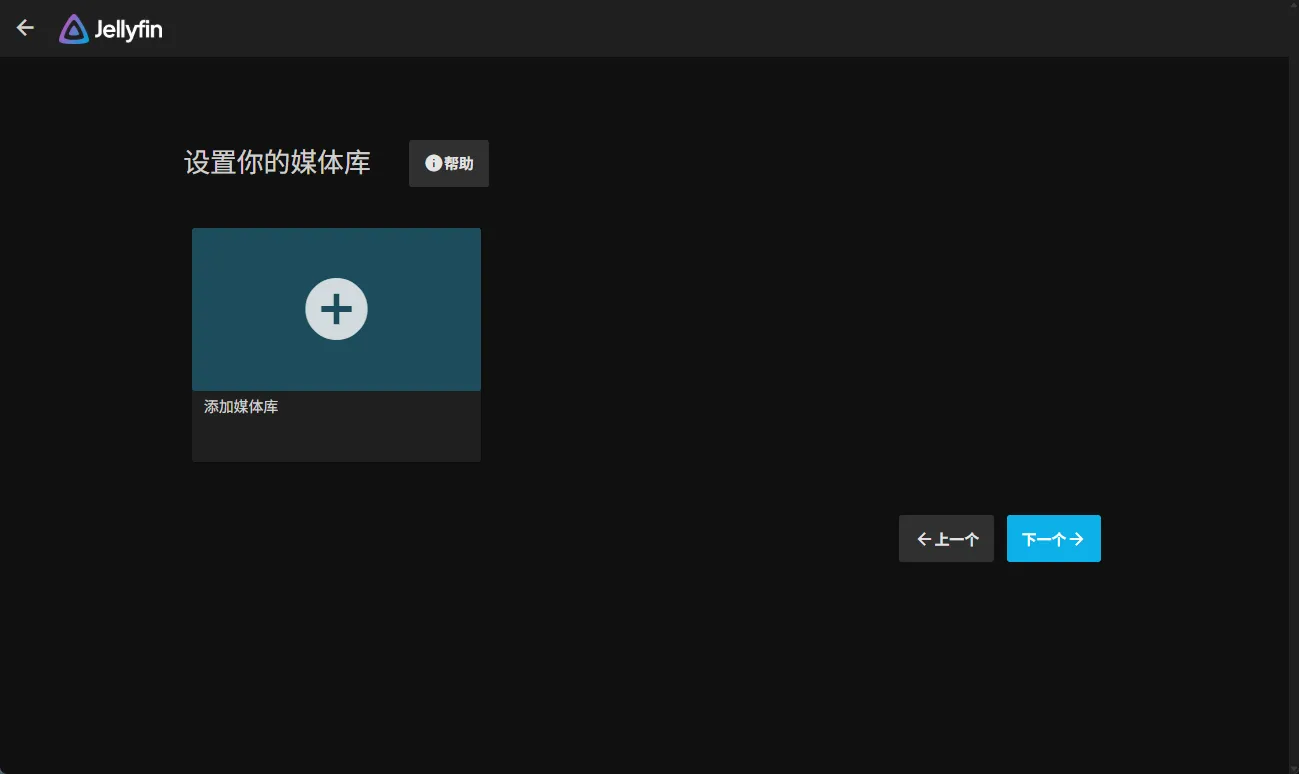
Skip media library settings
You can skip configuring the media library during initialisation. Click "Next" to continue.
-
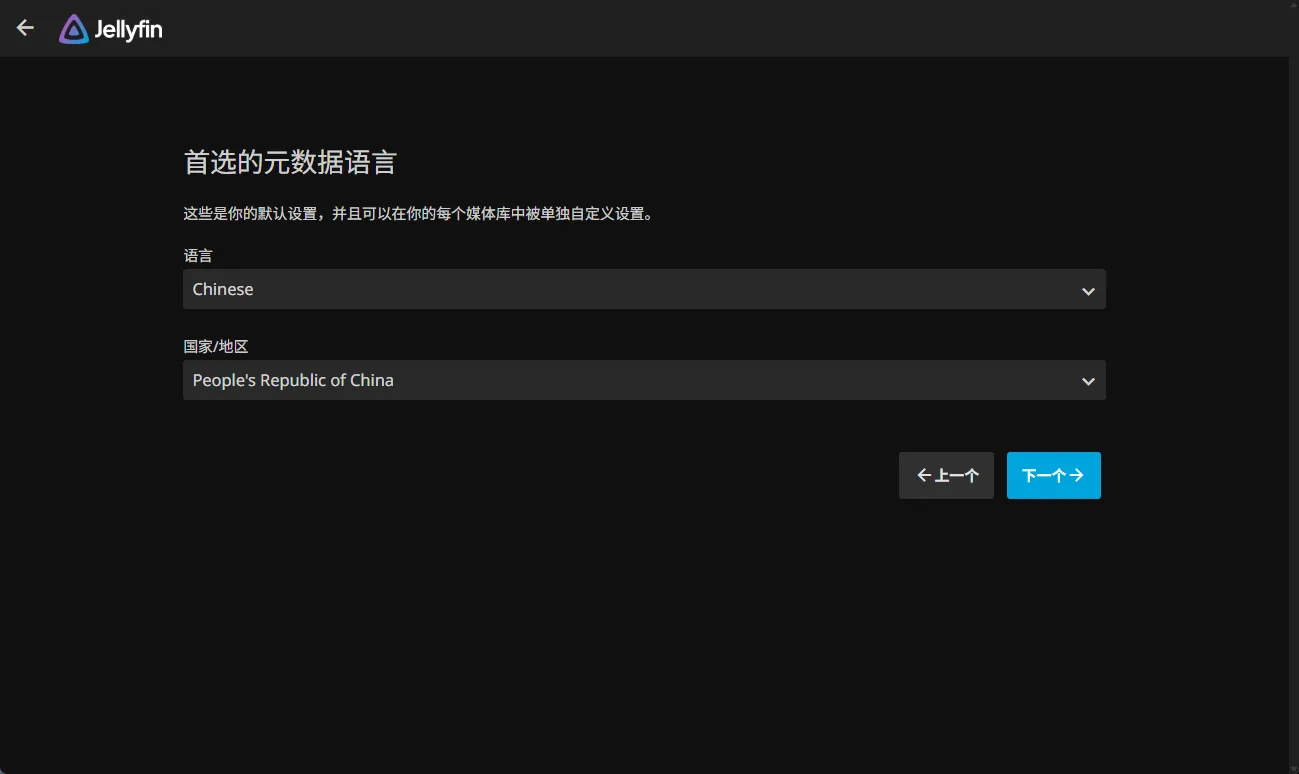
Configure remote access
Set the preferred metadata language according to your own language environment, and click "Next" to continue.
-
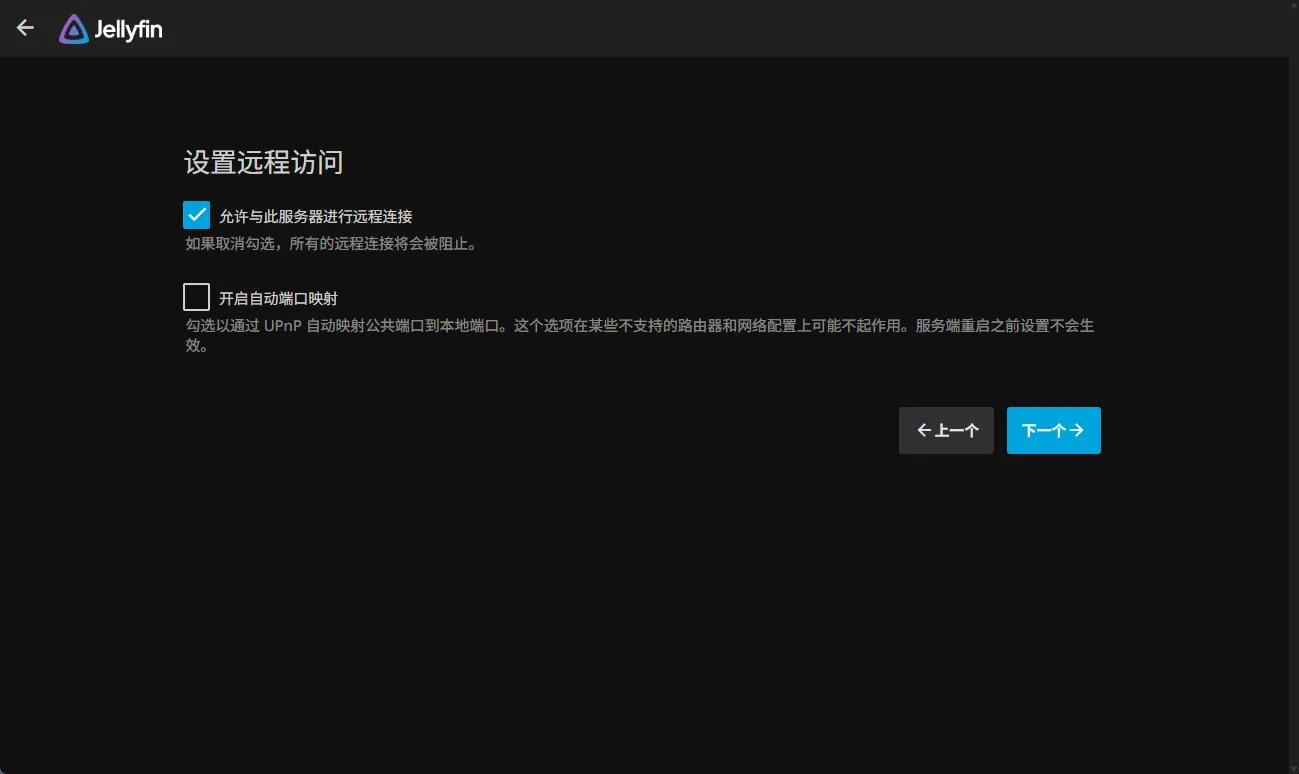
Set up remote access
Leave the default settings as shown below and click "Next" to continue.
-
Complete initialisation
The initialisation process is complete when you reach this screen. Click "Finish".
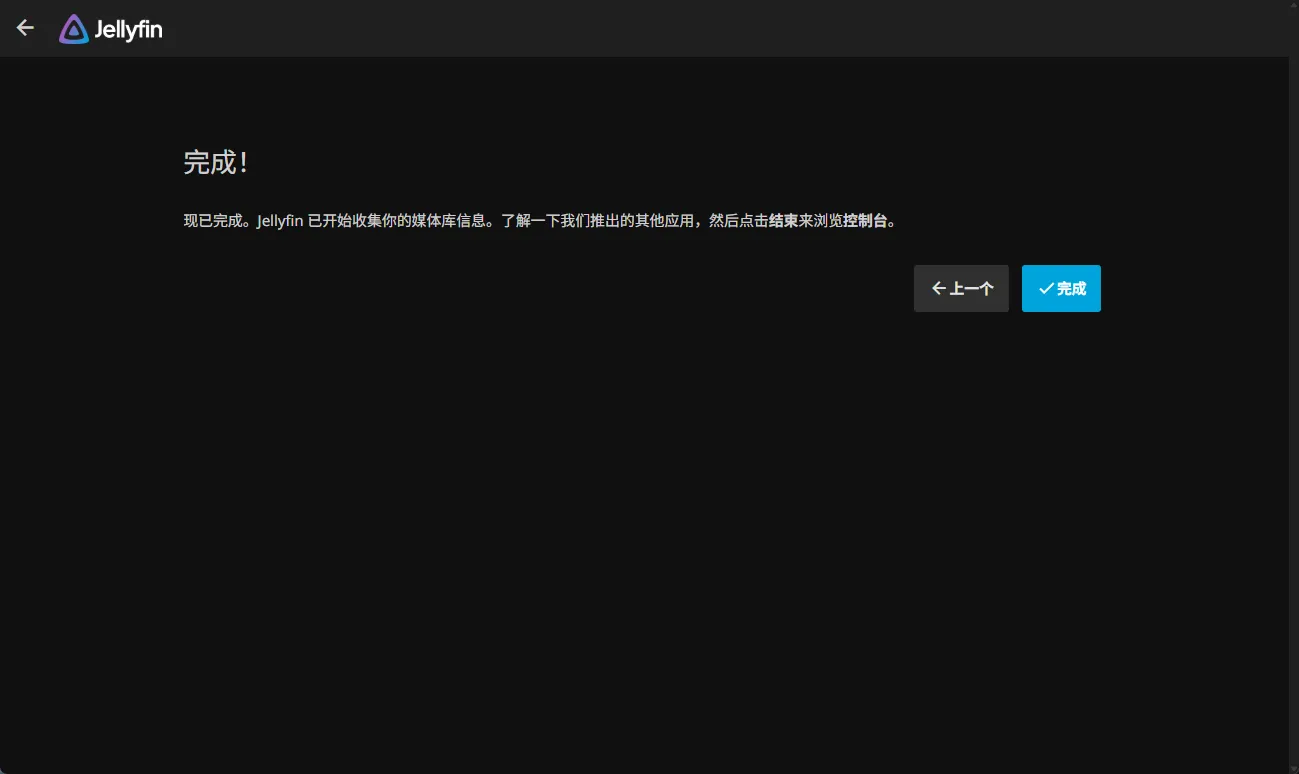
-
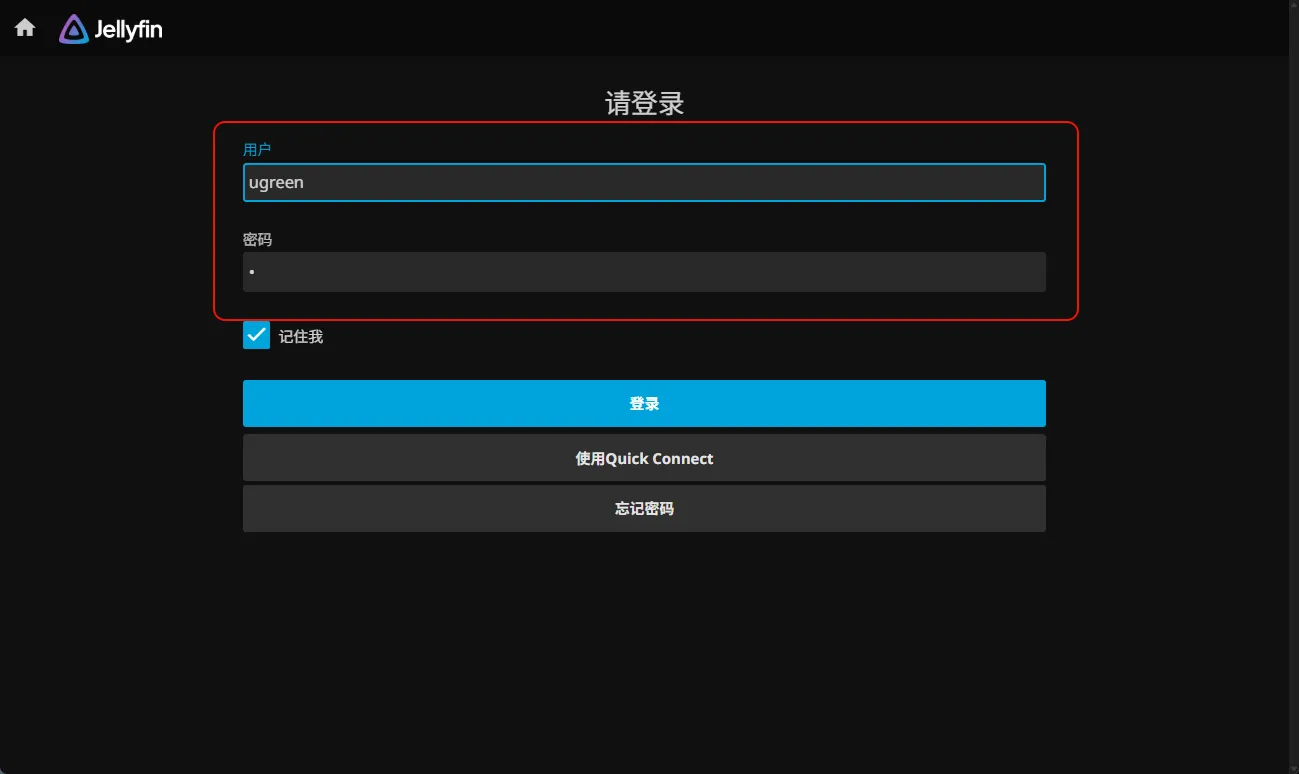
After initialisation is complete, please log in to the system using the user account you just created.
Add a media library
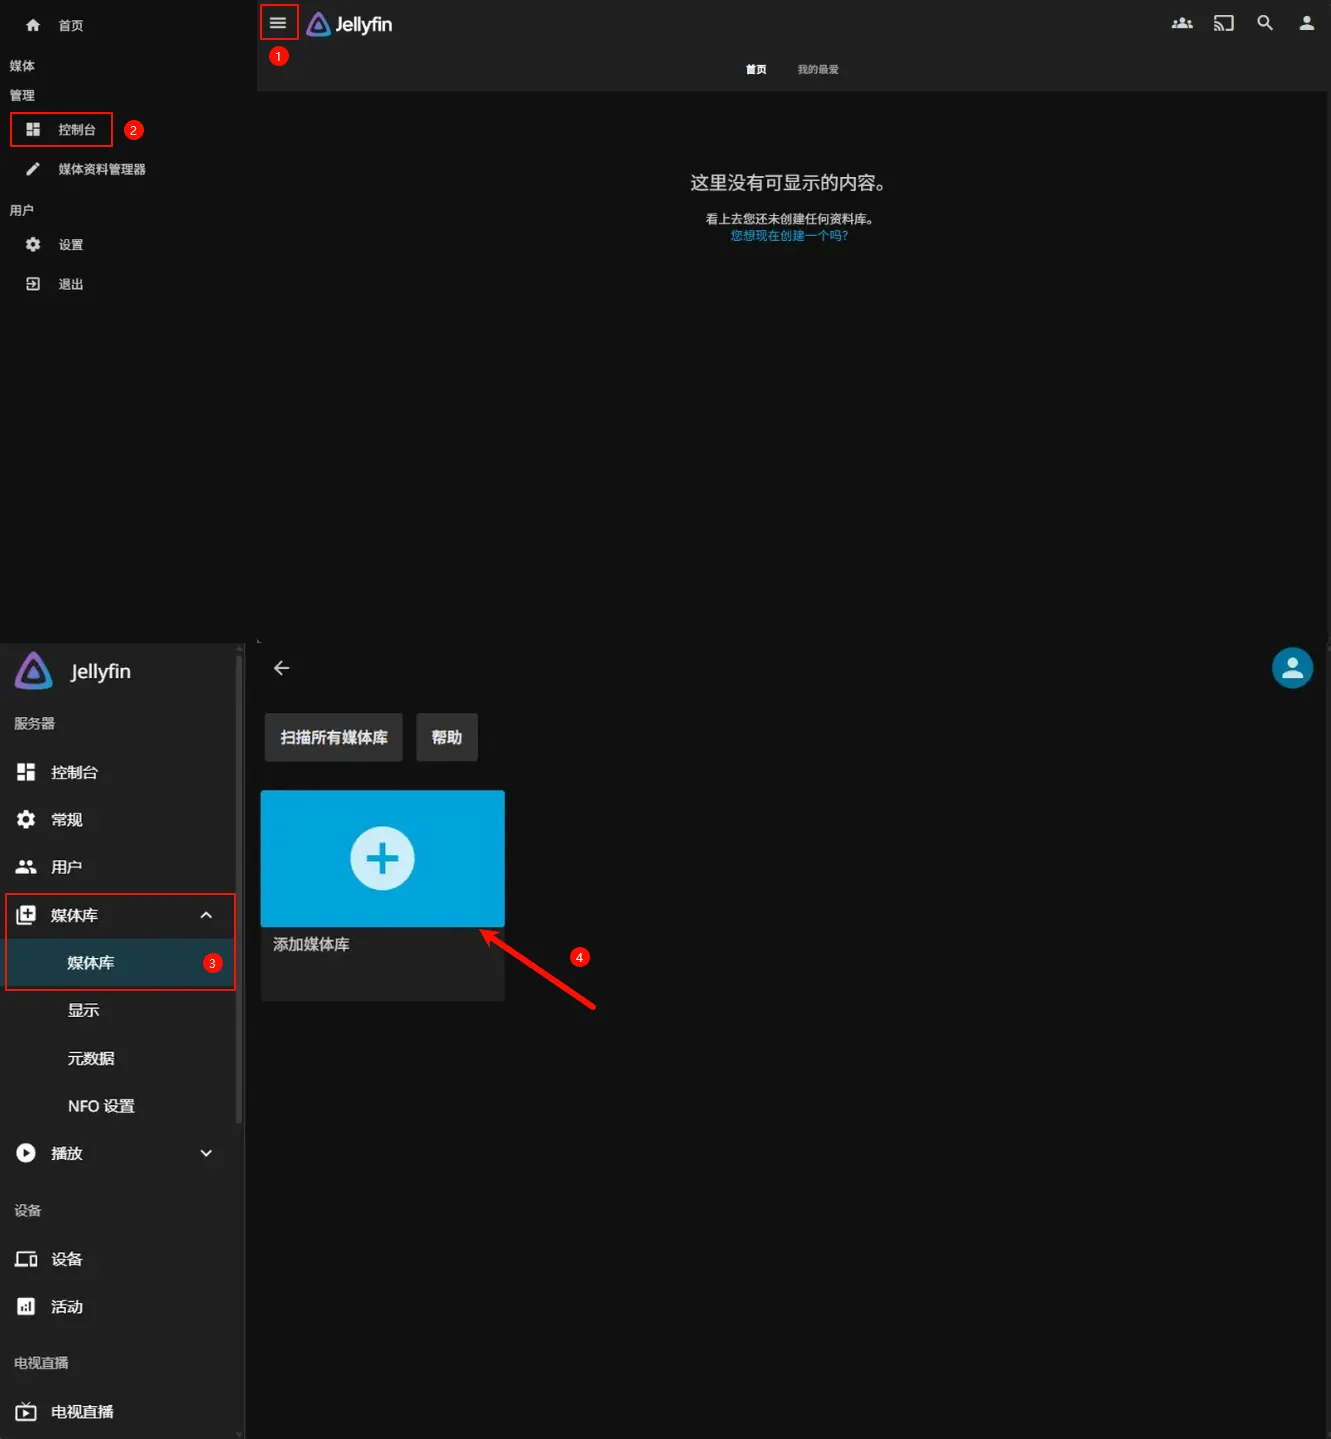
After logging in, follow the steps below to add a media library to manage your resources:
-
On the main jellyfin screen, click the "Manage menu" button in the top left corner, and then click "Console" in the pop-up side panel.
-
On the console interface, click "Media Library" > "Media Library" > "Add Media Library". Sort according to the type of media content (e.g. "Movies" or "Shows").
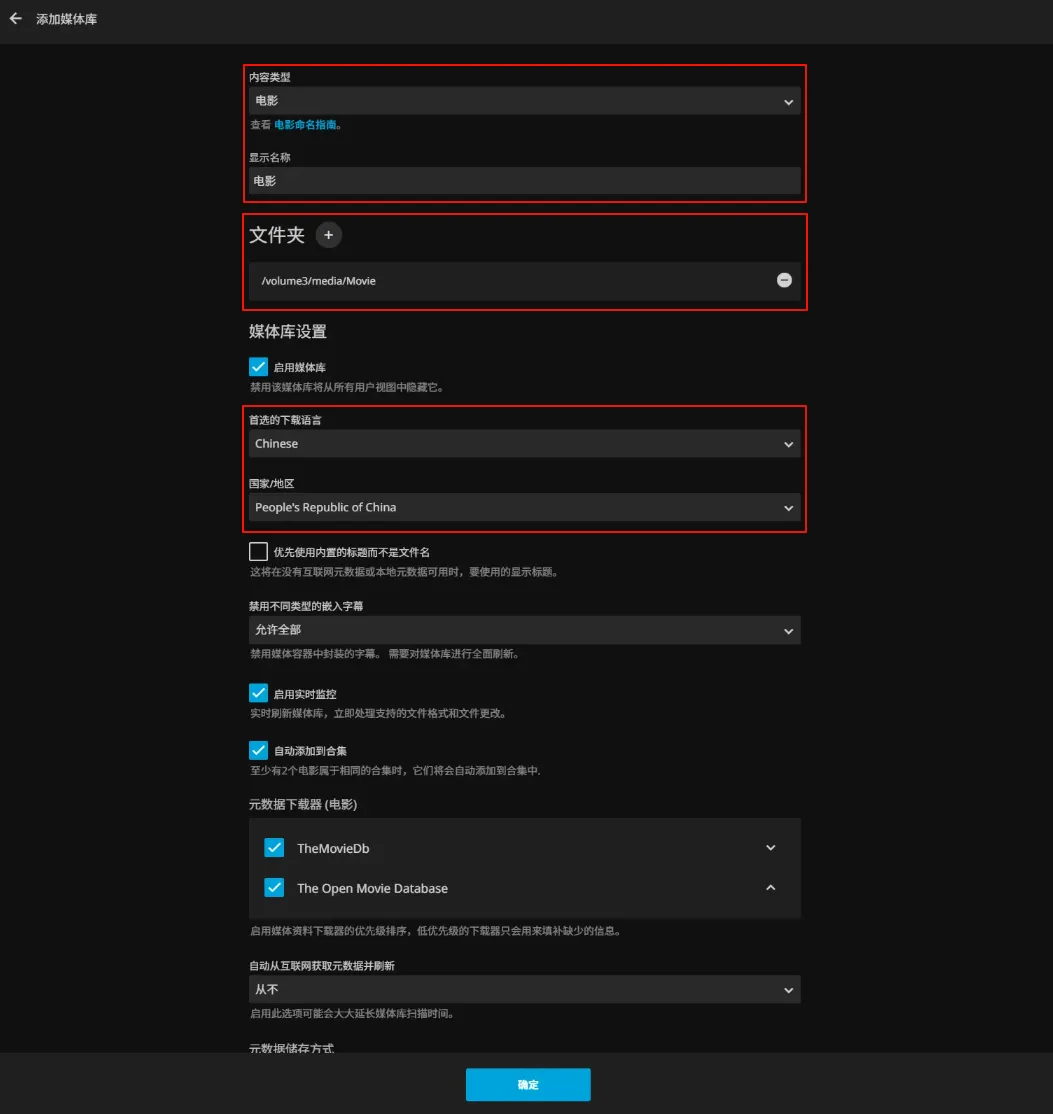
Movie library setup guide
1. Basic configuration
-
Content type: Select the [Movies] mode (which automatically matches the standard movie metadata structure).
-
Display name: It is recommended to name them according to their themes, such as "4K Ultra HD Cinema" or "Classic Nostalgia Library", etc., to facilitate the classification and management of multiple libraries.
-
Folder path: Point to the root directory of the movie resources, which is the resource access path set during application installation. (e.g.
volume3/media/movies).
About the subdirectory specifications within the folder A single-layer folder structure is recommended here to avoid nesting (example: /movies/Movie Name (Year)/Movie File.mkv ).
2. Metadata optimisation
-
The preferred metadata language is Chinese, which can be modified according to actual needs.
-
For the country/region, select [People's Republic of China] (to adapt to the localised translation and release information).
-
Other parameters
-
Other parameters can be adjusted according to personal needs.
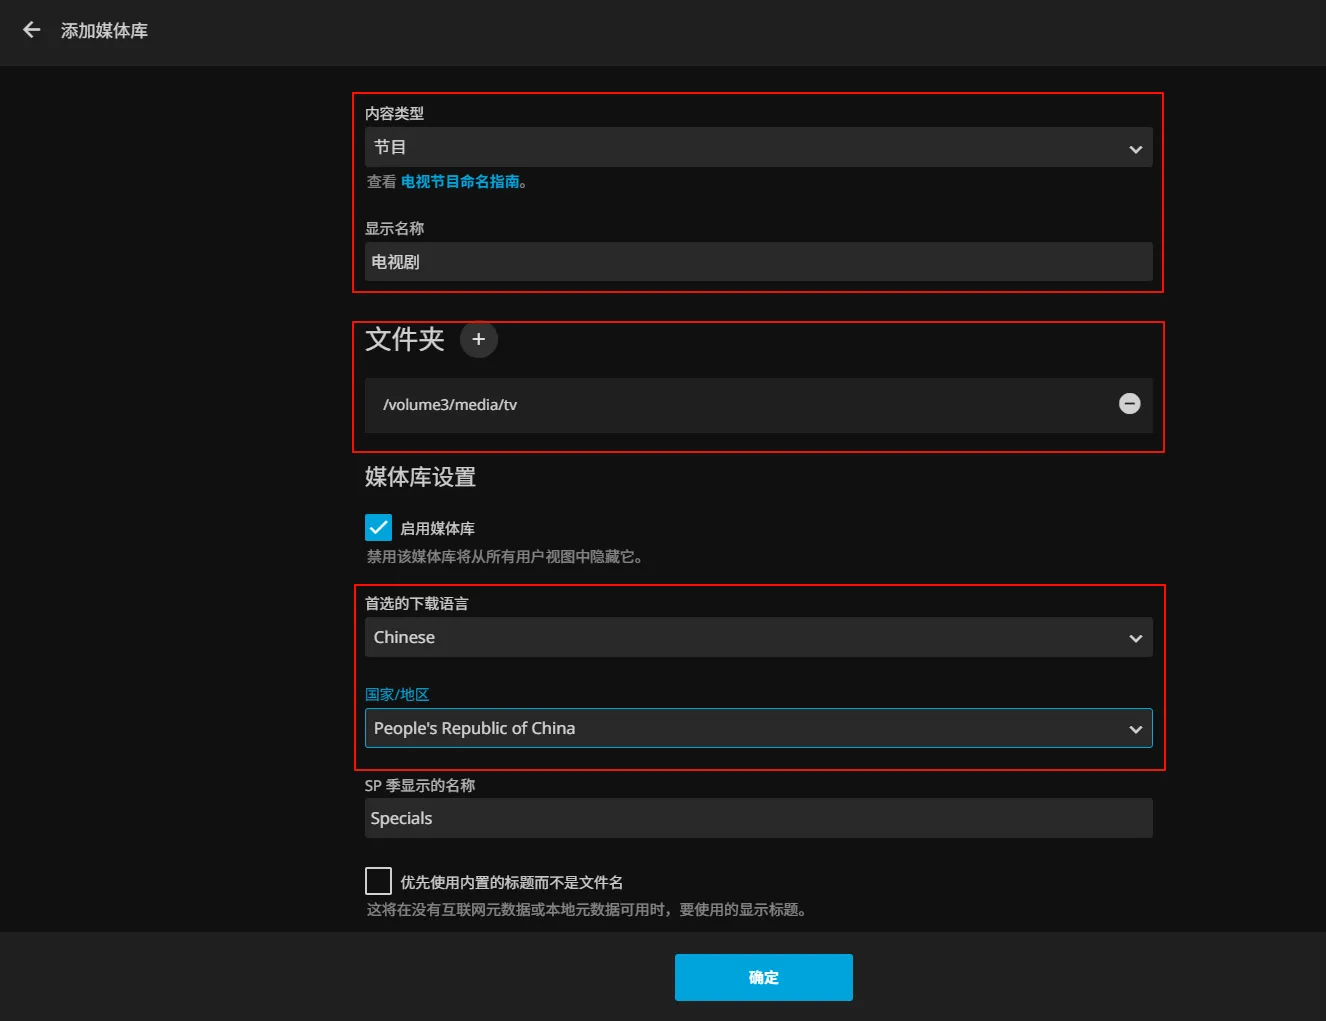
TV series/variety media library setup guide
1. Basic configuration
-
Content type: Select the [Program] mode (adapted to the structure of seasons and episodes).
-
Display name: Name by genre, e.g. [Domestic TV Series], [Netflix TV Series], [Variety Show Collection], etc.
-
The folder path points to the root directory of TV shows/variety shows, i.e. the resource access path set during application installation. (e.g.
/media/tv_shows).
2. Metadata optimisation
-
The preferred metadata language is Chinese, but it can be modified according to actual needs. For overseas dramas, you can consider using the region to which the drama belongs.
-
For the country/region, select [People's Republic of China] (adapted to the localised translation and release information).
-
Other parameters
-
Other parameters can be adjusted according to personal needs.
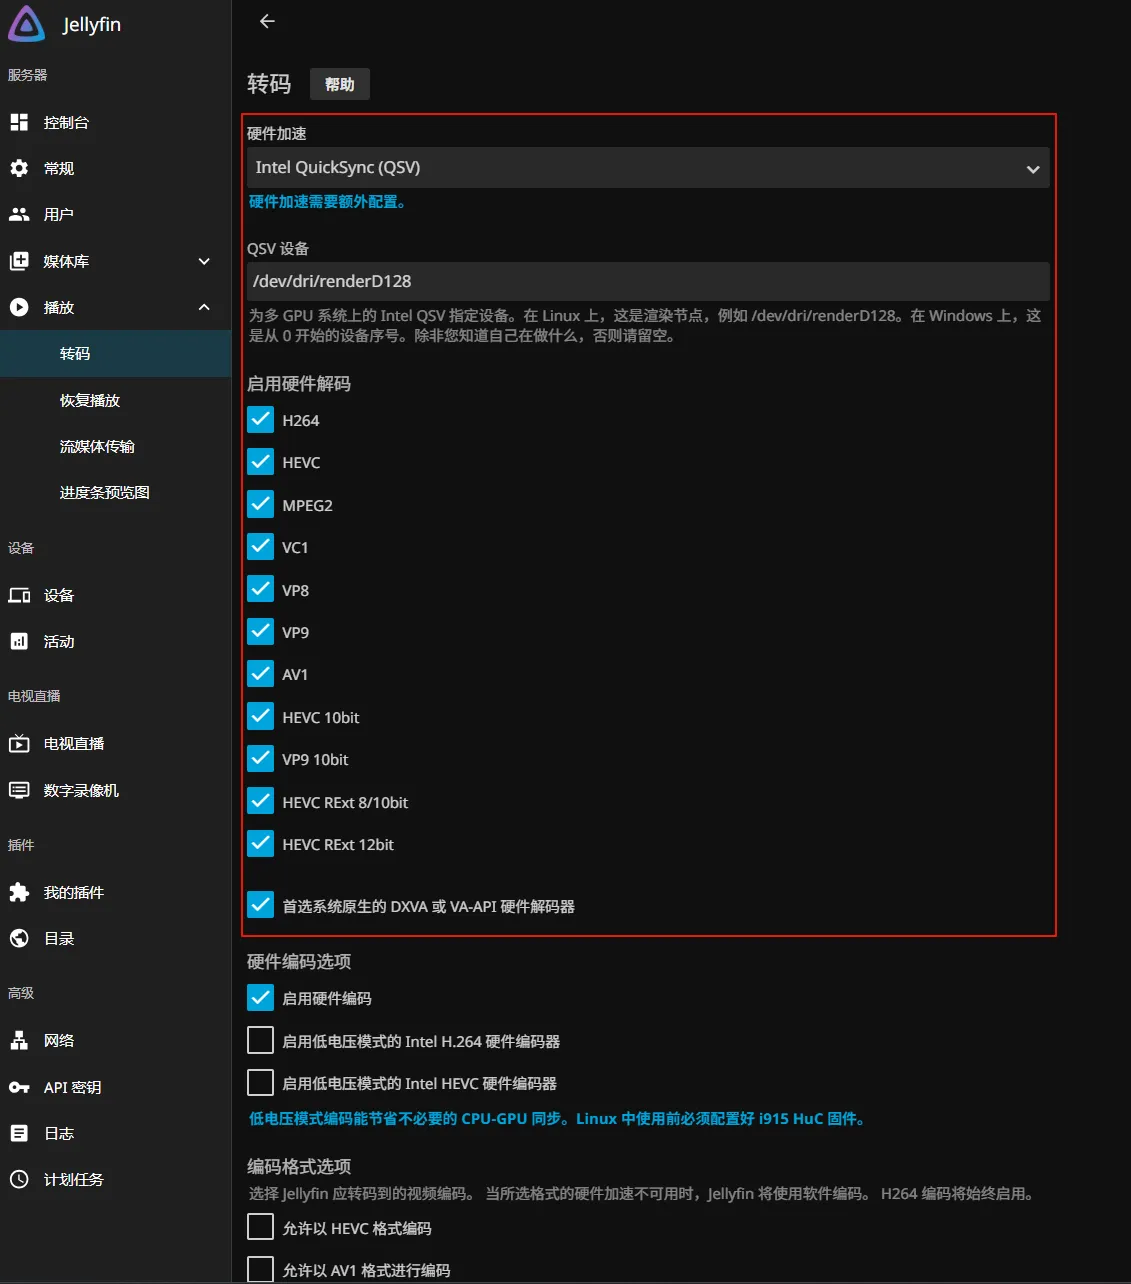
Enable hardware transcoding
-
Enabling hardware-accelerated transcoding (Intel Quick Sync Video (QSV)) can improve playback performance, solve video stuttering at high bitrates, and reduce the load on the CPU.
-
In the left-hand menu of the control panel, click [Playback] > [Transcoding].
-
Hardware acceleration: Select
Intel QuickSync (QSV)
-
QSV device: enter the device path
/dev/dri/renderD128 -
Enable hardware decoding: Tick all supported encoding formats
-
After the settings are complete, scroll to the bottom of the page and click "Save".
Notes
When using the UGOS Pro system and container applications, please note the following:
-
Do not arbitrarily migrate, move, rename or delete the NAS path of the container mount, to avoid functional abnormalities or data loss.
-
If you need to access the container application through a browser, please turn off the multi-gateway option in [Control Panel > Network Management] to avoid network conflicts.
-
Container applications are suitable for novice users. If you need more flexible configuration and management, it is recommended to use Docker directly to deploy container applications yourself, which is convenient for custom configuration files and advanced functions.