1. Introduction to Deepseek
DeepSeek is an inference model developed by Hangzhou Deepseek Artificial Intelligence Basic Technology Research Co., Ltd (founded on 17 July 2023), which uses reinforcement learning for post-training, aiming to improve inference ability, especially good at complex tasks such as mathematical, coding, and natural language inference.On 20 January 2025, DeepSeek officially released the DeepSeek- R1 model and simultaneously open-sourced the model weights. Before deploying DeepSeek, you need to install Ollama , Ollama is a large-scale language modelling framework, which can be understood as the host of the AI model. If you need a beautiful UI interface, you need to install other applications to work with it, in this tutorial, we run the DeepSeek-R1 model by deploying the OpenWebUI application.
IntroductiontoOpen WebUI
is an extensible, feature-rich user-friendly self-hosted web interface designed to run completely offline. It supports a wide range of LLM runners including Ollama and OpenAl-compatible APIs.
Key features of Open WebUI
Easy setup: Supports Docker and Kubernetes installations and provides easy image management.
API Integration: Compatible with Ollama and OpenAI APIs, custom API URLs, and adapts to multiple LLM services such as LMStudio and OpenRouter. For more details, please refer to the official Open WebUI documentation.
Deploying OpenWebUI containerswith Docker Compose (Ollama integration)
On the UGOS Pro system, we recommend using the Docker Compose project to quickly deploy containers, which is suitable for scenarios where you need to manage multiple containers at the same time, and this method simplifies the deployment and management of containers. Below are the detailed steps for deploying OpenWebUI using Docker Compose.
Click to learn more: What is a project (Docker Compose)?
2.1 Entering the Docker project interface
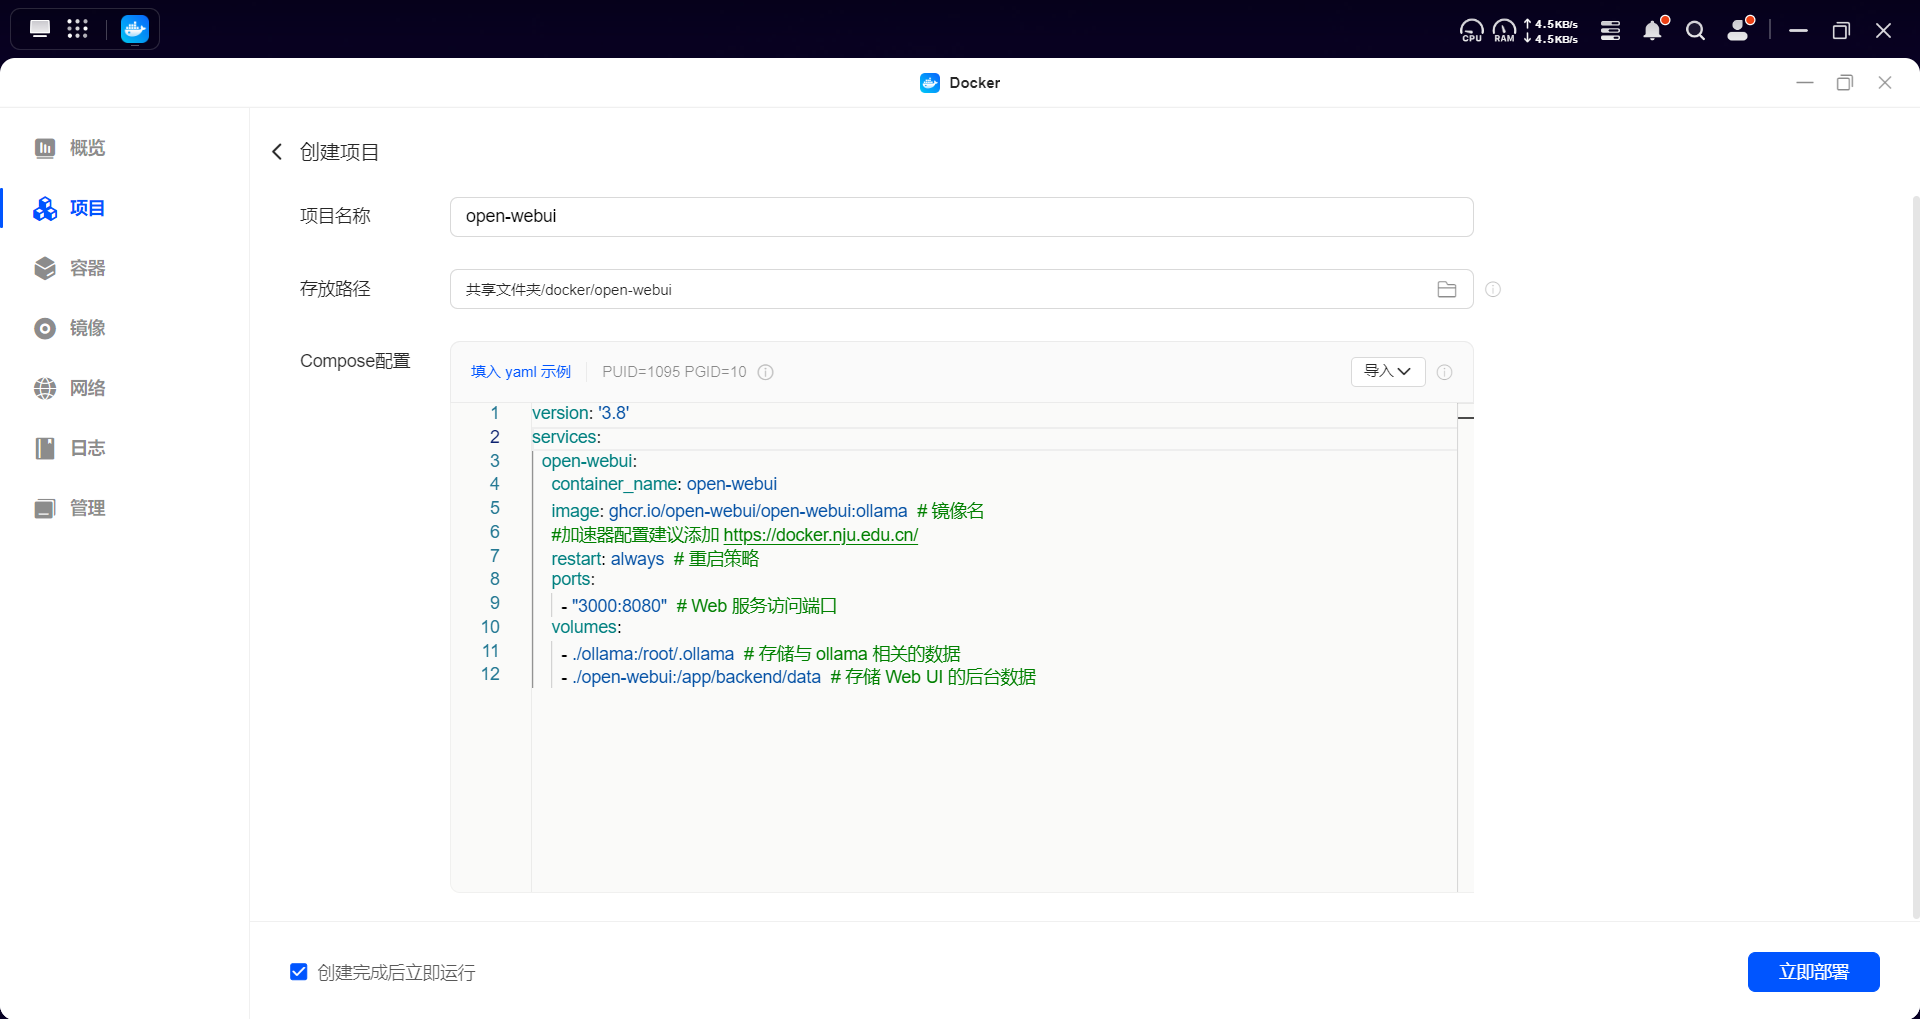
On the UGOS Pro system, open the Docker application and click [Project] > [Create] to start the project creation wizard.
2.2 Configure the Docker Compose File
In the project creation wizard, upload the following Docker Compose configuration file for OpenWebUI:
version: '3.8' services: open-webui: container_name: open-webui image: ghcr.io/open-webui/open-webui:ollama # image name # Accelerator configuration is recommended to add https://docker. nju.edu.cn/ restart: always # restart policy ports: - "3000:8080" # Web service access port volumes: - . /ollama:/root/.ollama # Store ollama-related data - . /open-webui:/app/backend/data # Store backend data for the Web UI.2.3 Parameter Description
|
Parameter |
Parameter Description |
|
image |
Specify the container image version as |
|
restart |
Set the restart policy to |
|
ports |
Port mapping: mapping port 3000 of NAS to port 8080 of container, and accessing WebUI via |
|
volumes |
Data storage mapping to ensure data persistence: |
|
|
|
|
|
Attention:
-
./indicates the directory where the current Docker Compose file is located; -
The path before the colon is the storage path of the NAS, and the path after the colon is the mapped path in the container.
2.4 Deployment Instructions
-
Mirror source: Use the
ghcr.io/open-webui/open-webui:ollamamirror, which has integrated OpenWebUI and Ollama, so you don't need to run the Ollama service separately, and the system will finish the startup and integration automatically.
-
Port Settings: The default port of OpenWebUI is 8080, but it can be adjusted through the
portsparameter. In this article, it is mapped to port 3000, and the access address ishttp://NAS_IP:3000.The default port of Ollama is 11434, but there is no need to expose it, because the mirror has completed the internal docking, and OpenWebUI can directly call the Ollama service.
Related Readings
FAQ] How to correctly represent the volumes mount path in the Docker Compose configuration file?
2.5 Deploying the Project
After uploading the configuration file, click [Deploy Now], the system will automatically pull the image and start the container.
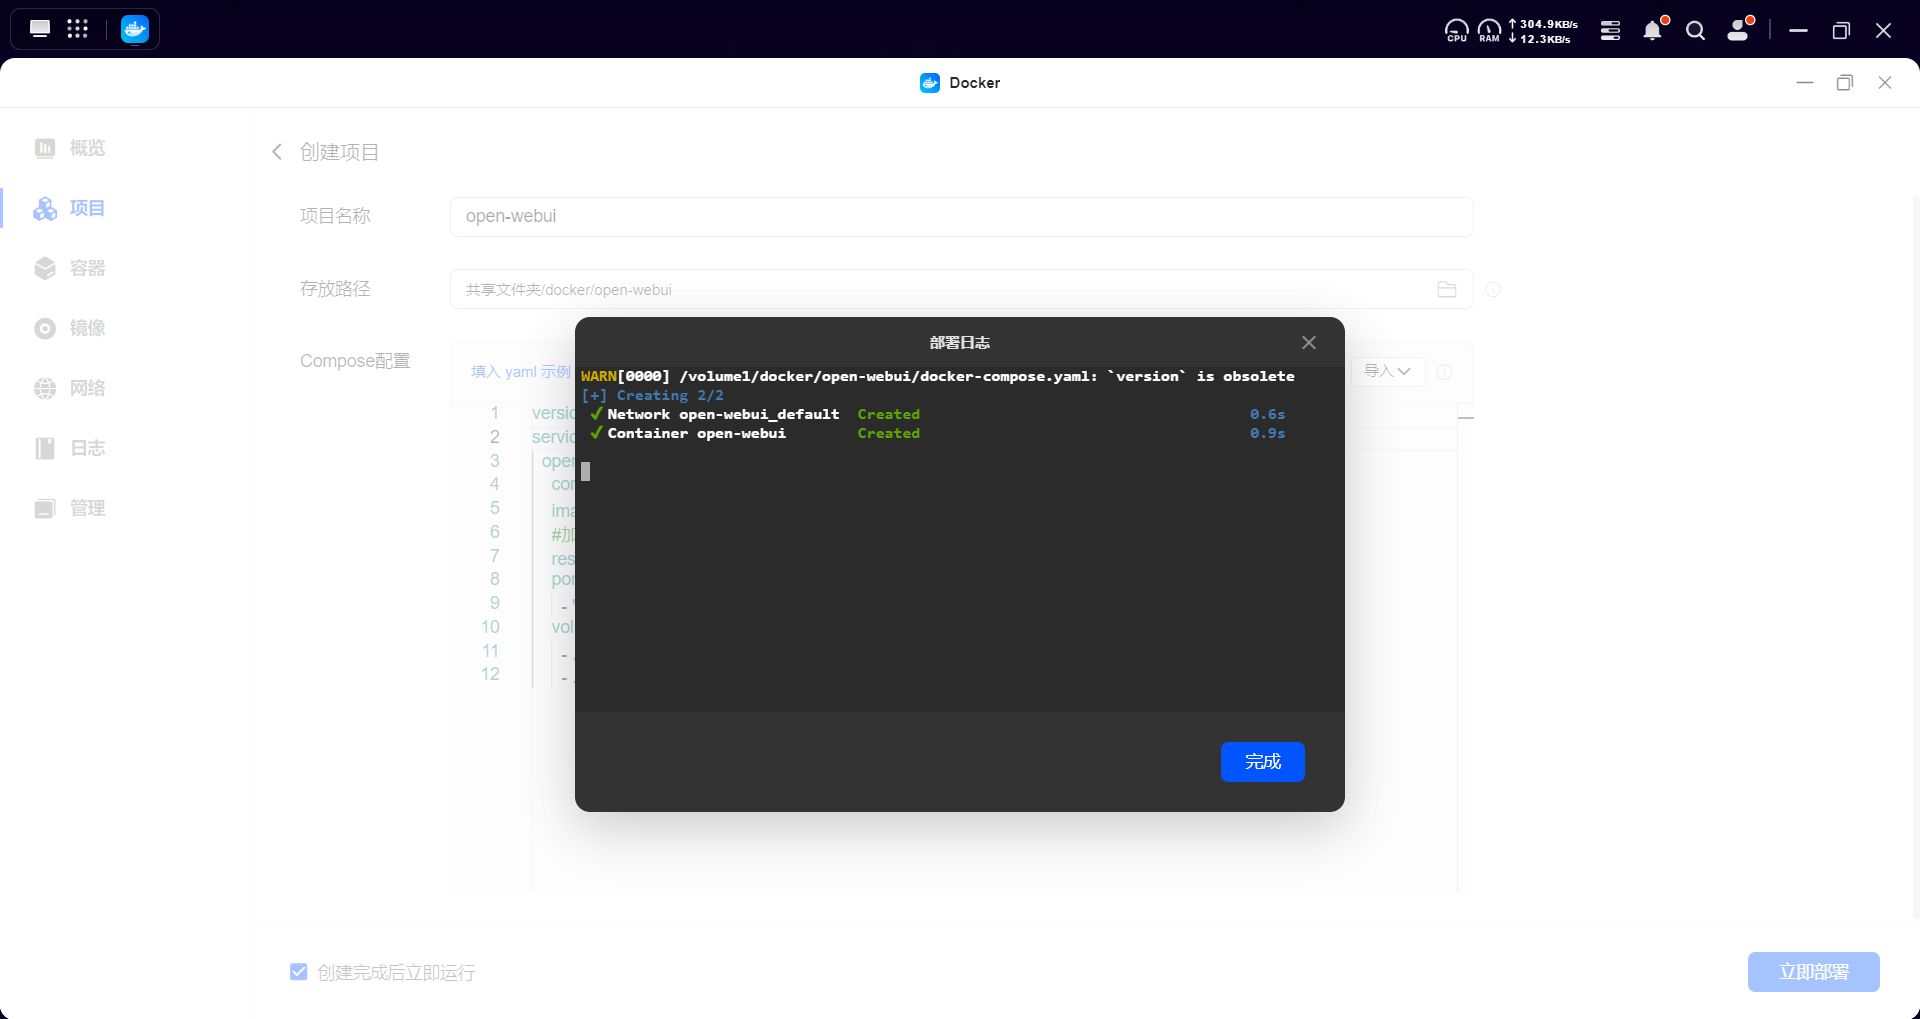
The system will automatically pull the image and start the container:
-
open-webui image pull failure:It is recommended to configure an accelerator to increase the image download speed, especially under the network environment in Mainland China.PleaserefertoDocker Configuring Image Acceleration andMirrorSourcesfor detailedstepsonhow to set it up.
-
Proxy Settings:Insome cases, you may need to configure an HTTP/HTTPS proxy to assist with the download,seeDocker Downloading Images bySettingProxyfor details.
2.6 Accessing the Open WebUI
To access the Open WebUI web interface, follow these steps:
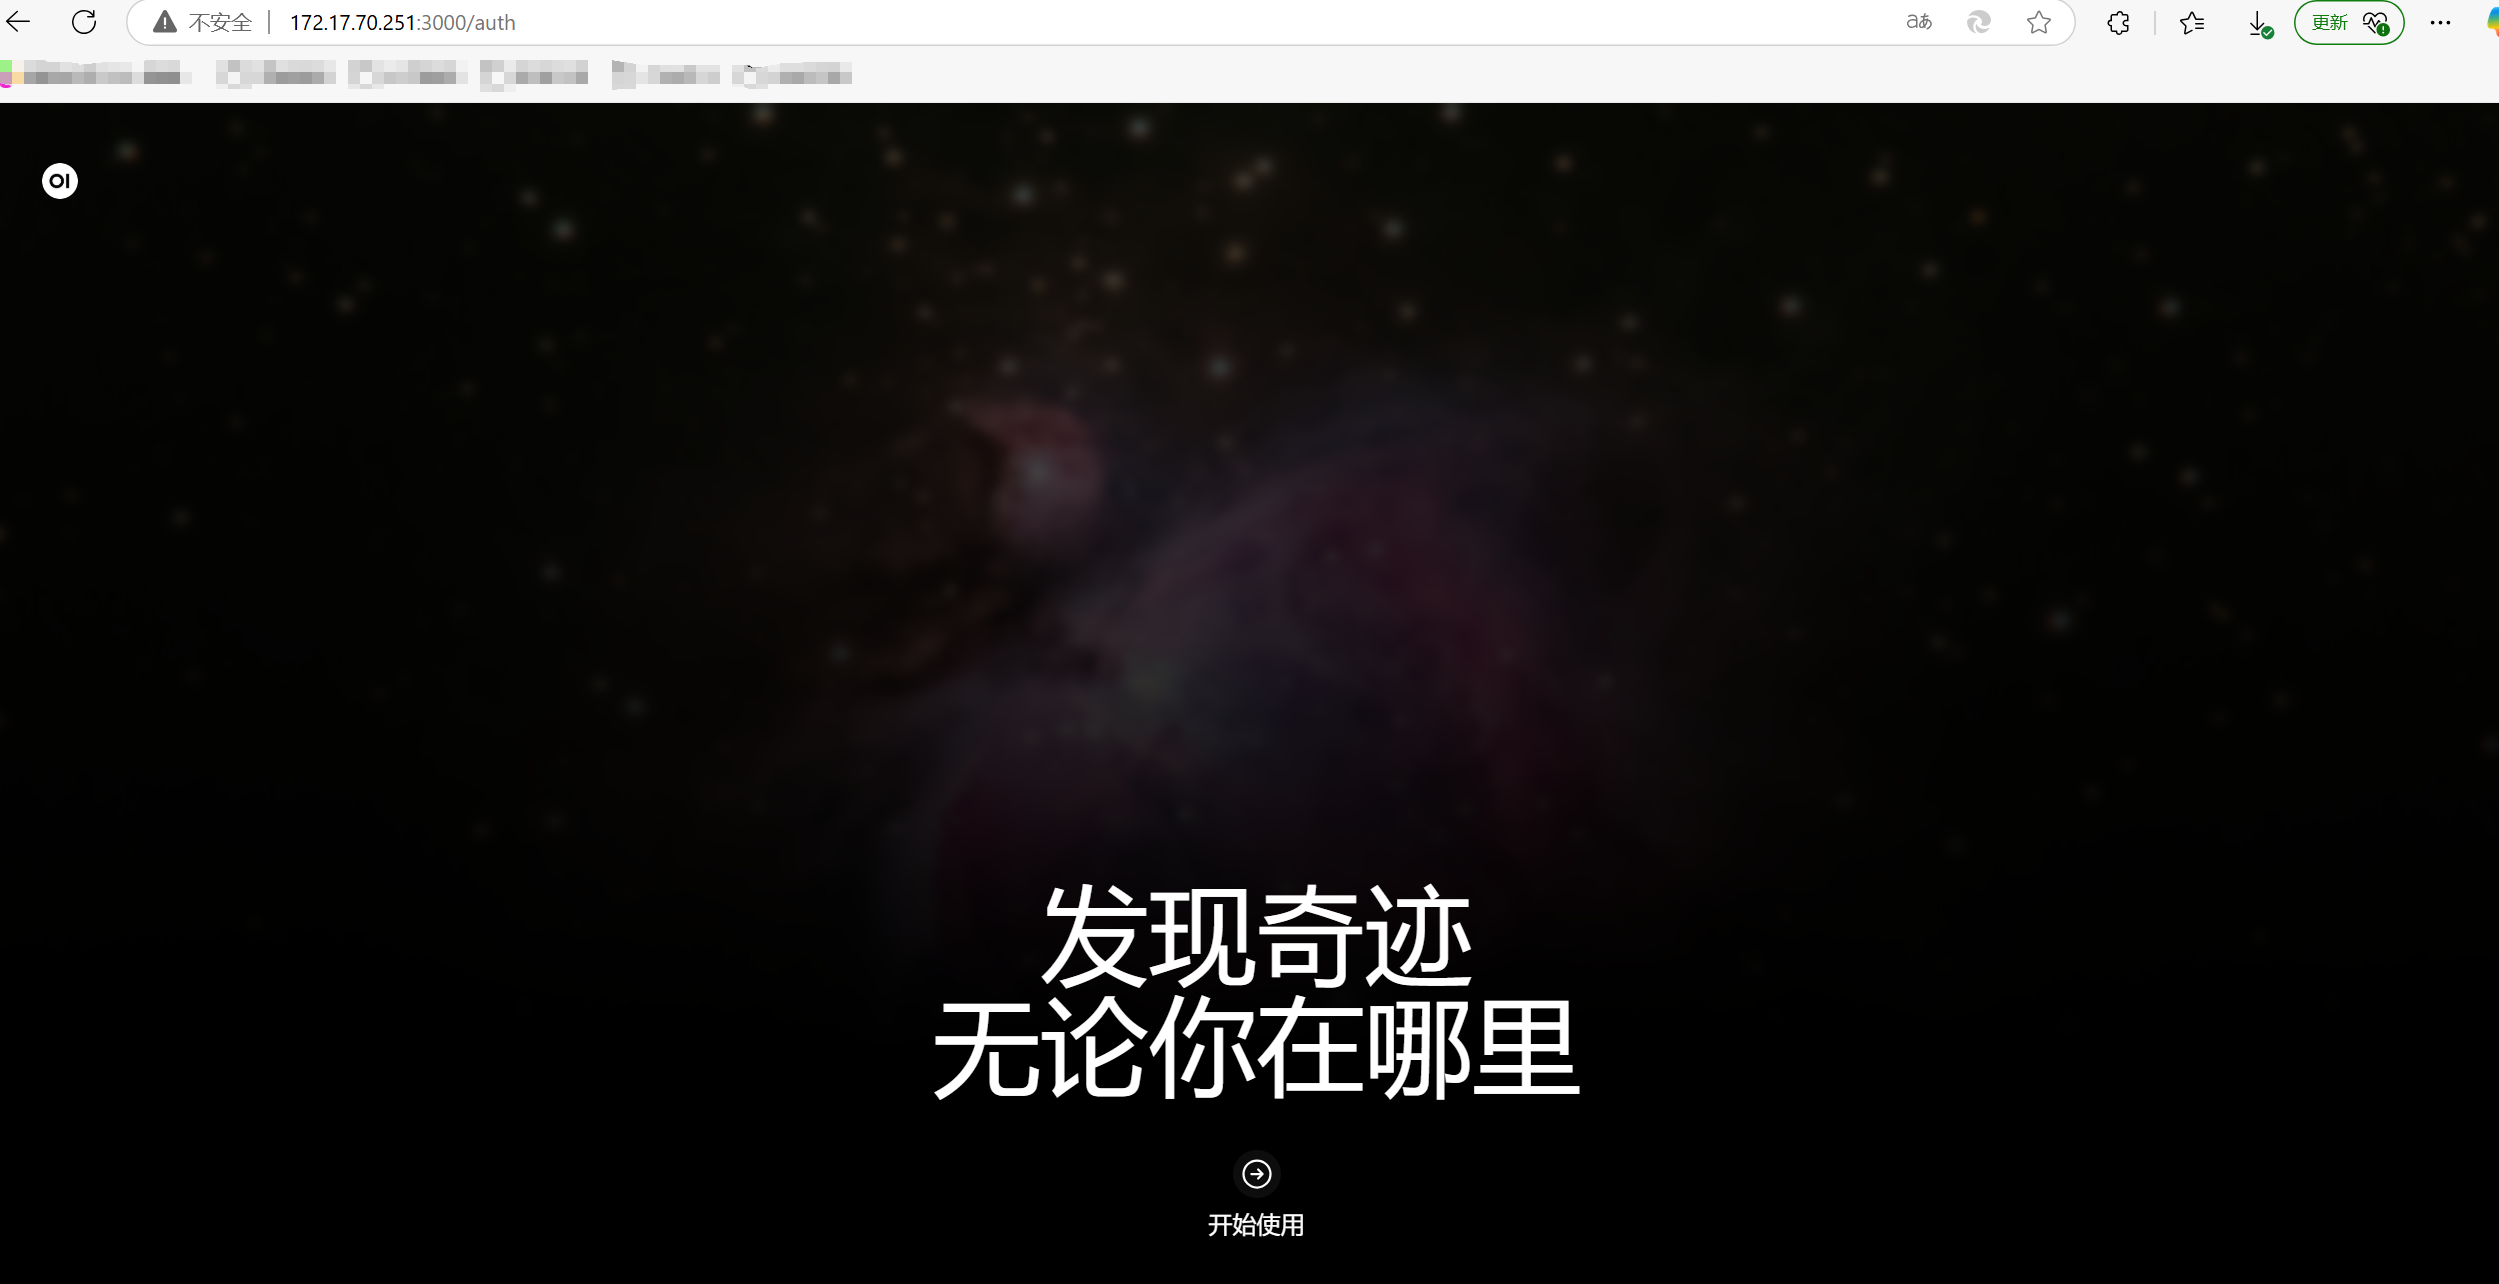
-
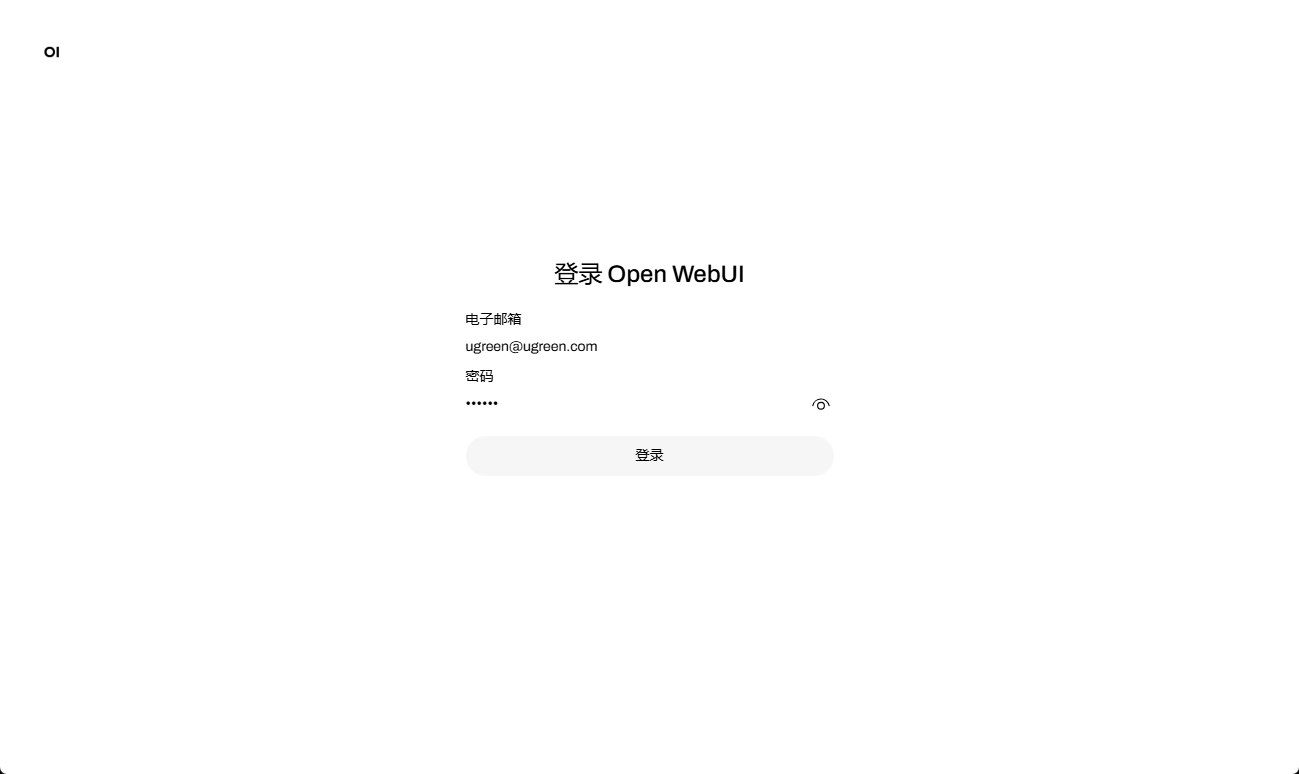
Open a browser on the LAN, visit the deployment address, enter the login page and click Getting Started.
-
To access for the first time, you need to create an administrator account and set the user name, email address and password.
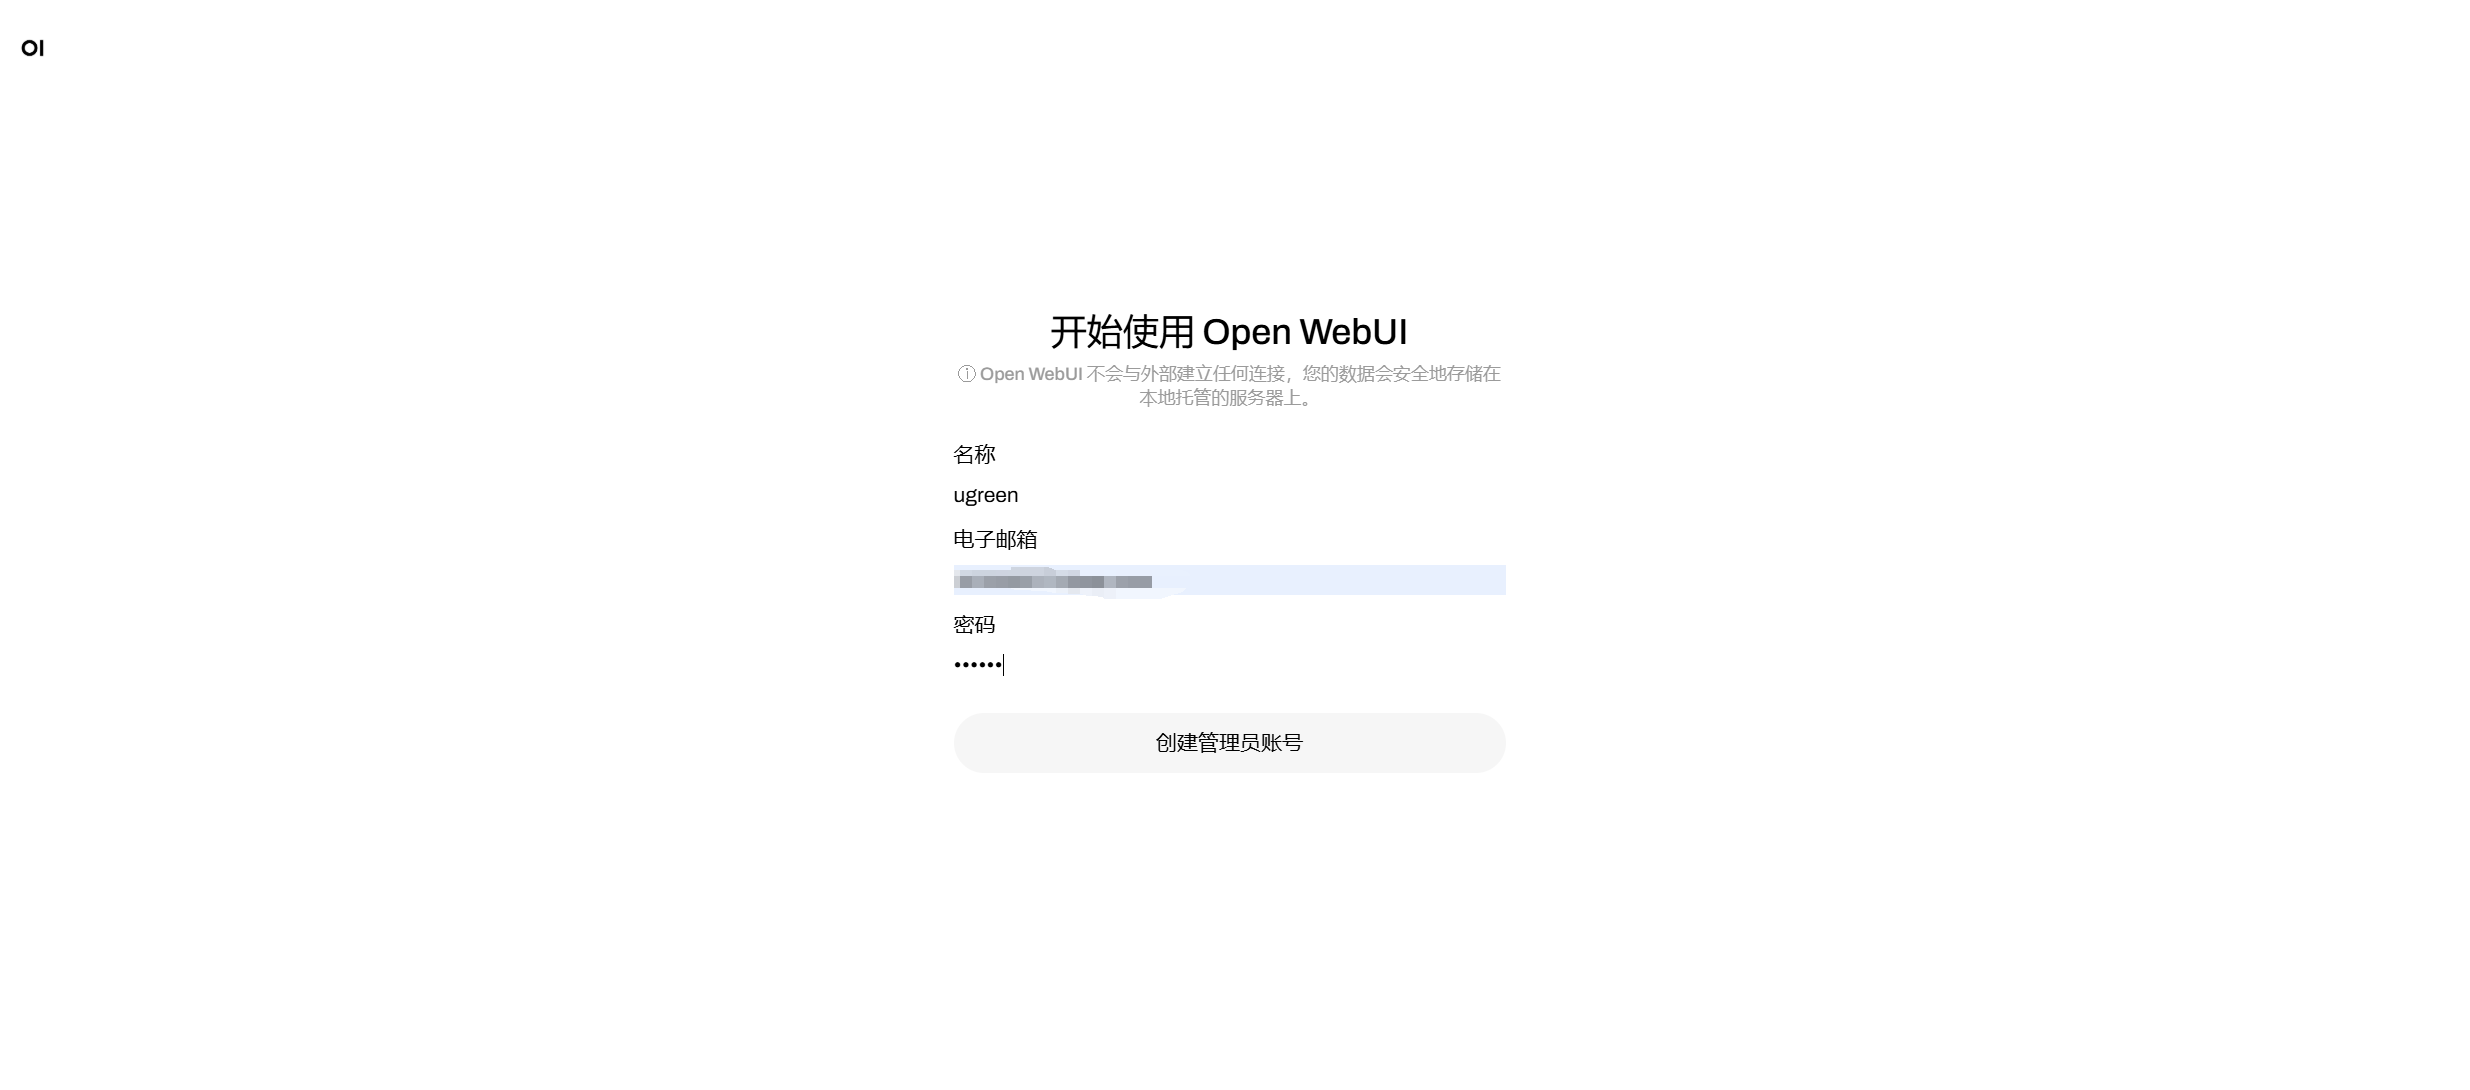
-
Use the newly created account to log in.
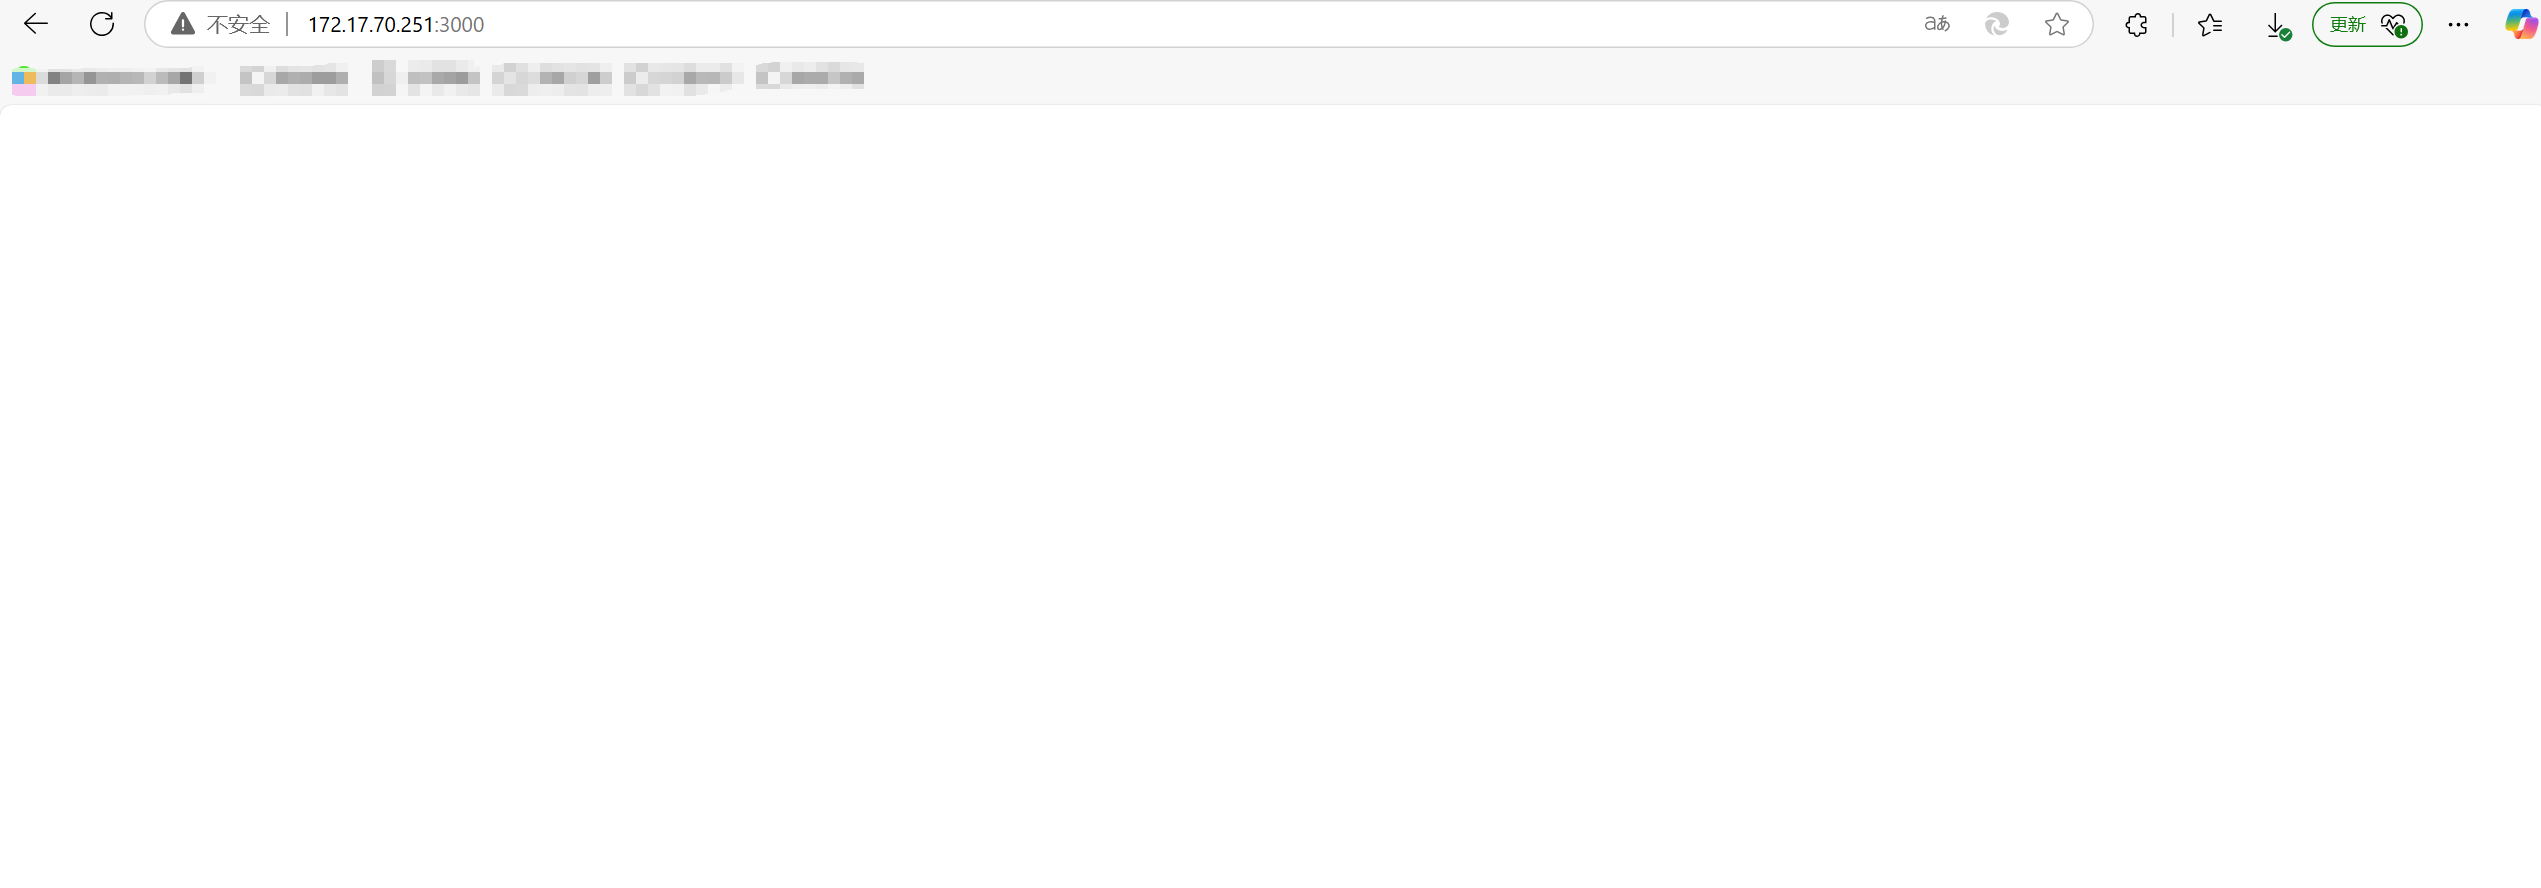
Note: When accessing the page for the first time, you may encounter an internal error or connection denied, please wait for a few minutes before trying to load again.
Blank screen problem
When logging in, the interface may temporarily appear blank due to data loading in the background. You can check the log file to confirm the loading progress and status.
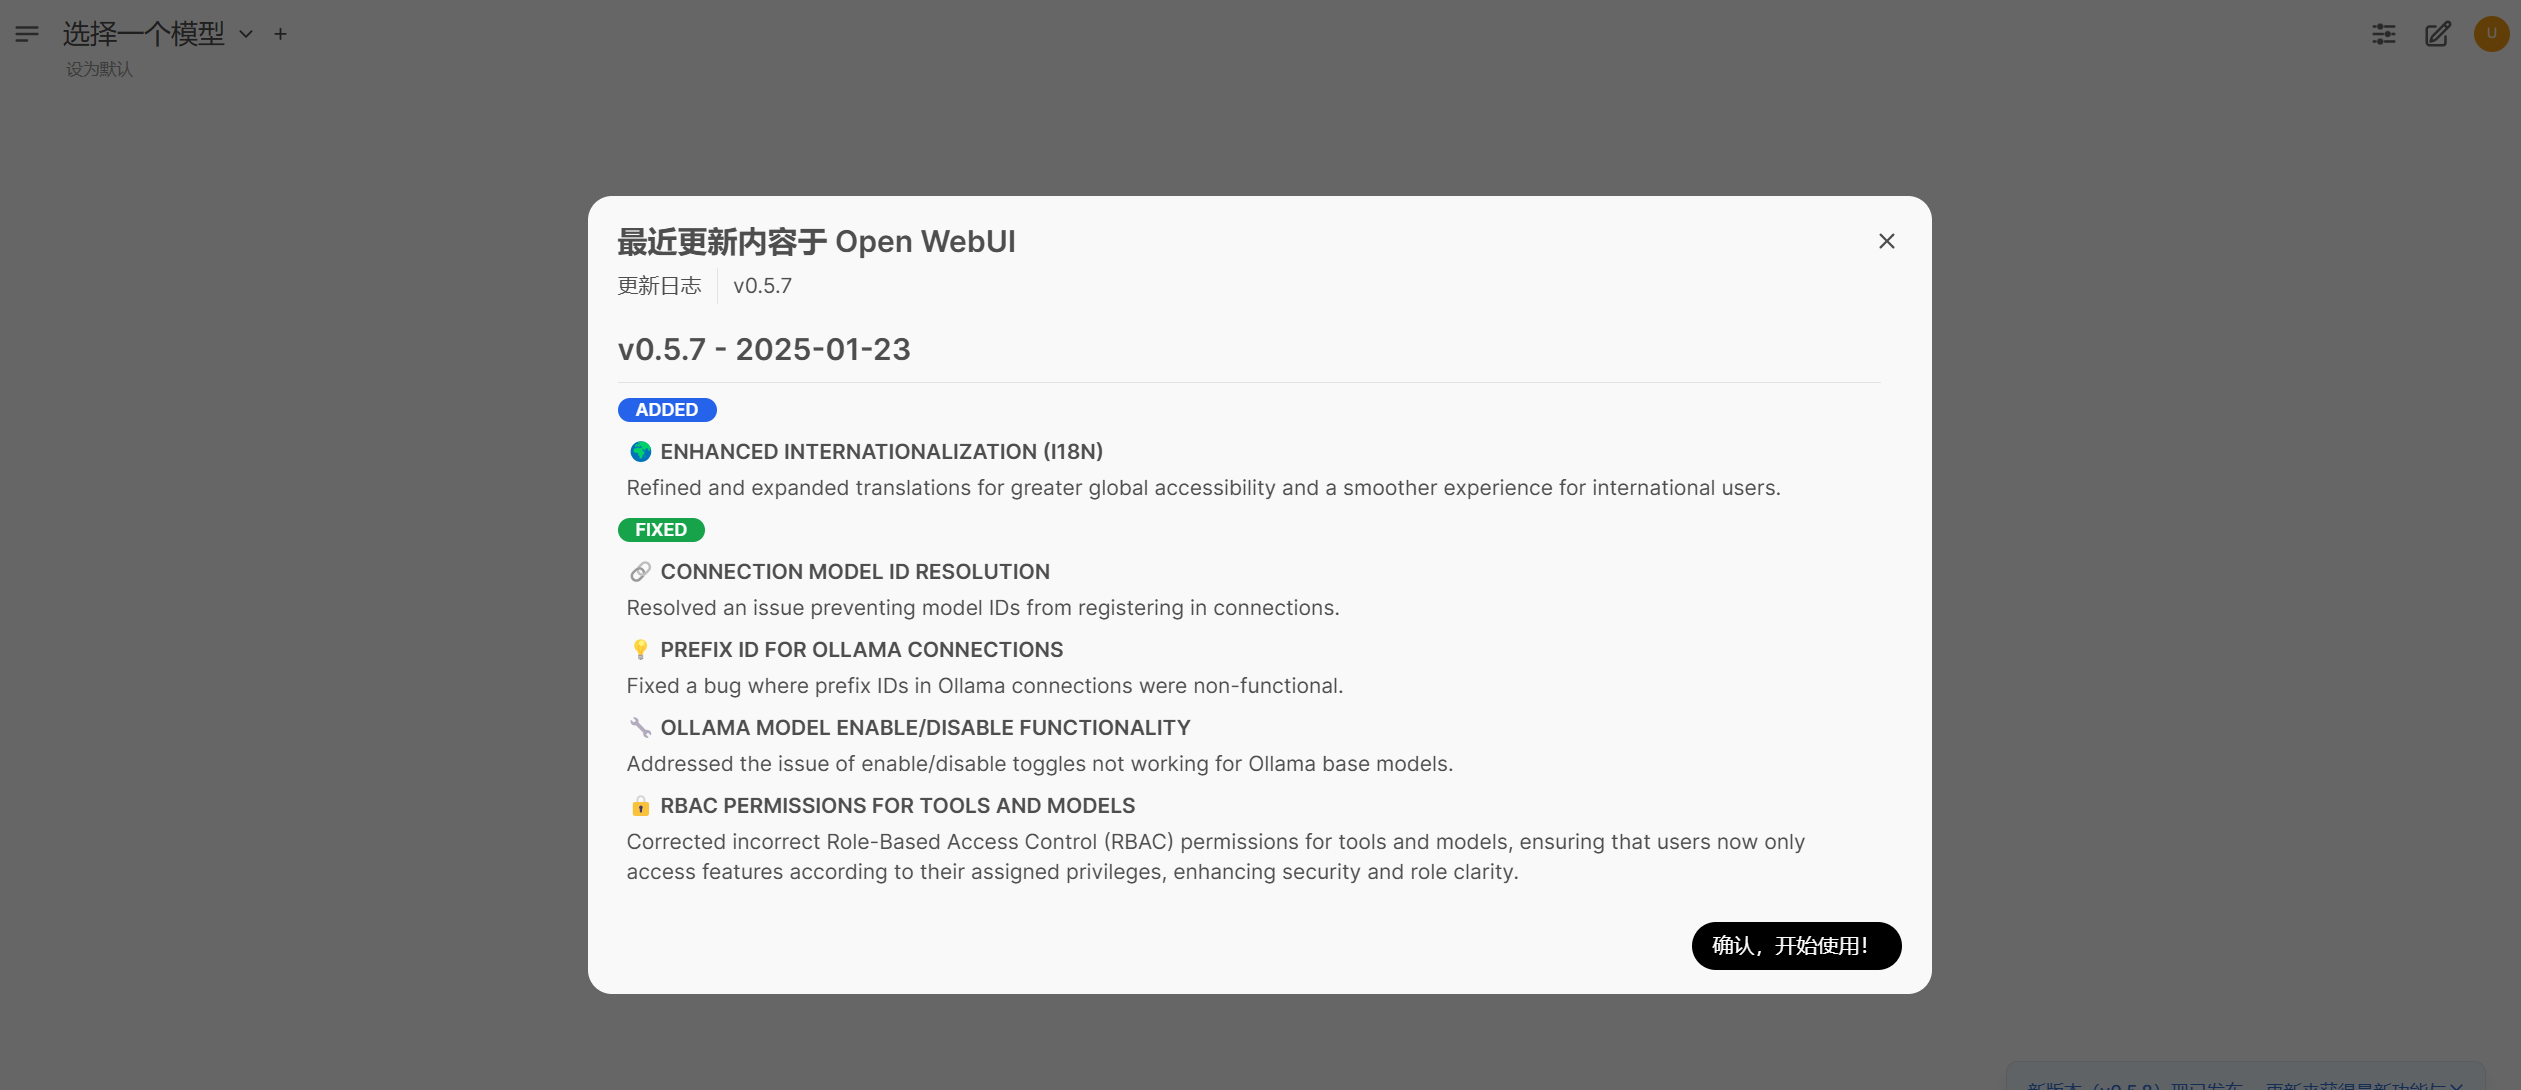
-
After successfully logging in, you will enter the main interface.
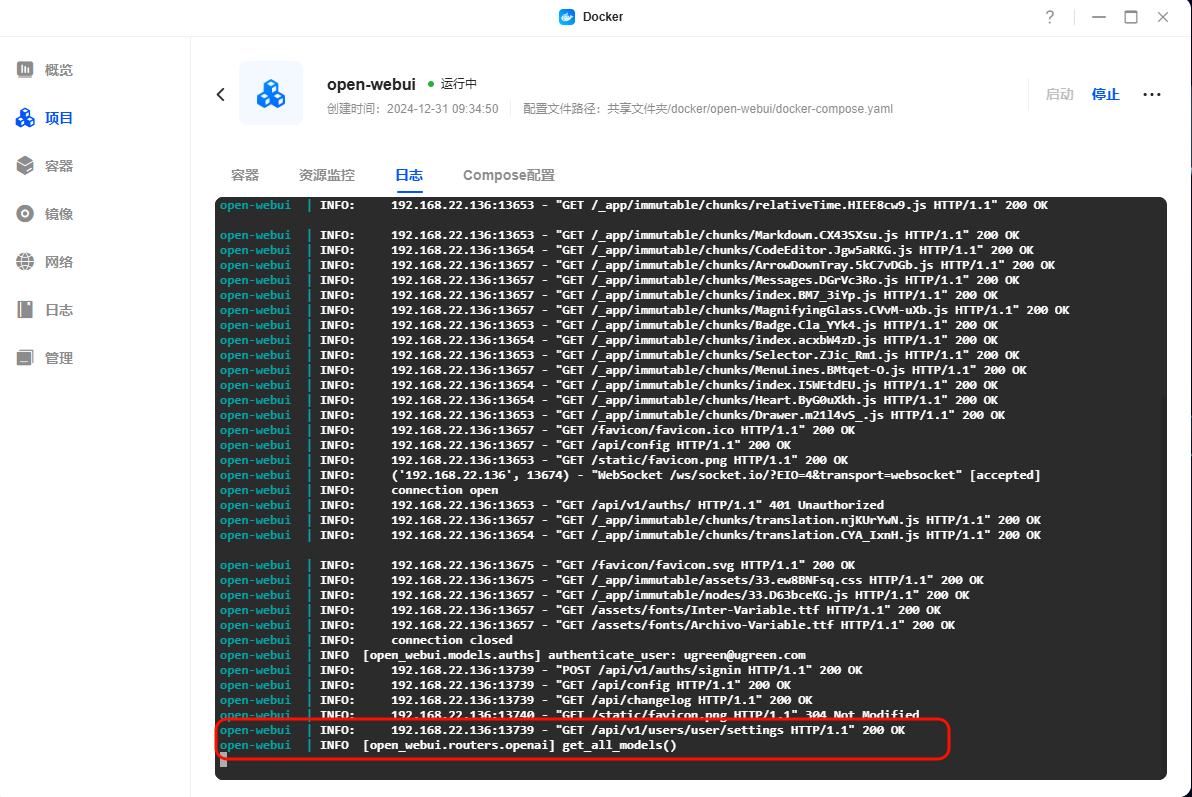
Troubleshooting the blank interface:
-
Enter the Docker application of UGOS Pro.
-
Click [Container] > select the Open WebUI container > click [Log].
-
Please check if the log contains information about the progress of model loading, such as "get_all_models" or "Loading models". If the log shows normal loading, please wait for 1-2 minutes, the page will be automatically refreshed and return to normal; if there is an error message, then troubleshoot the problem according to the log information.
3、DownloadanddeployDeepseek-R1 models.
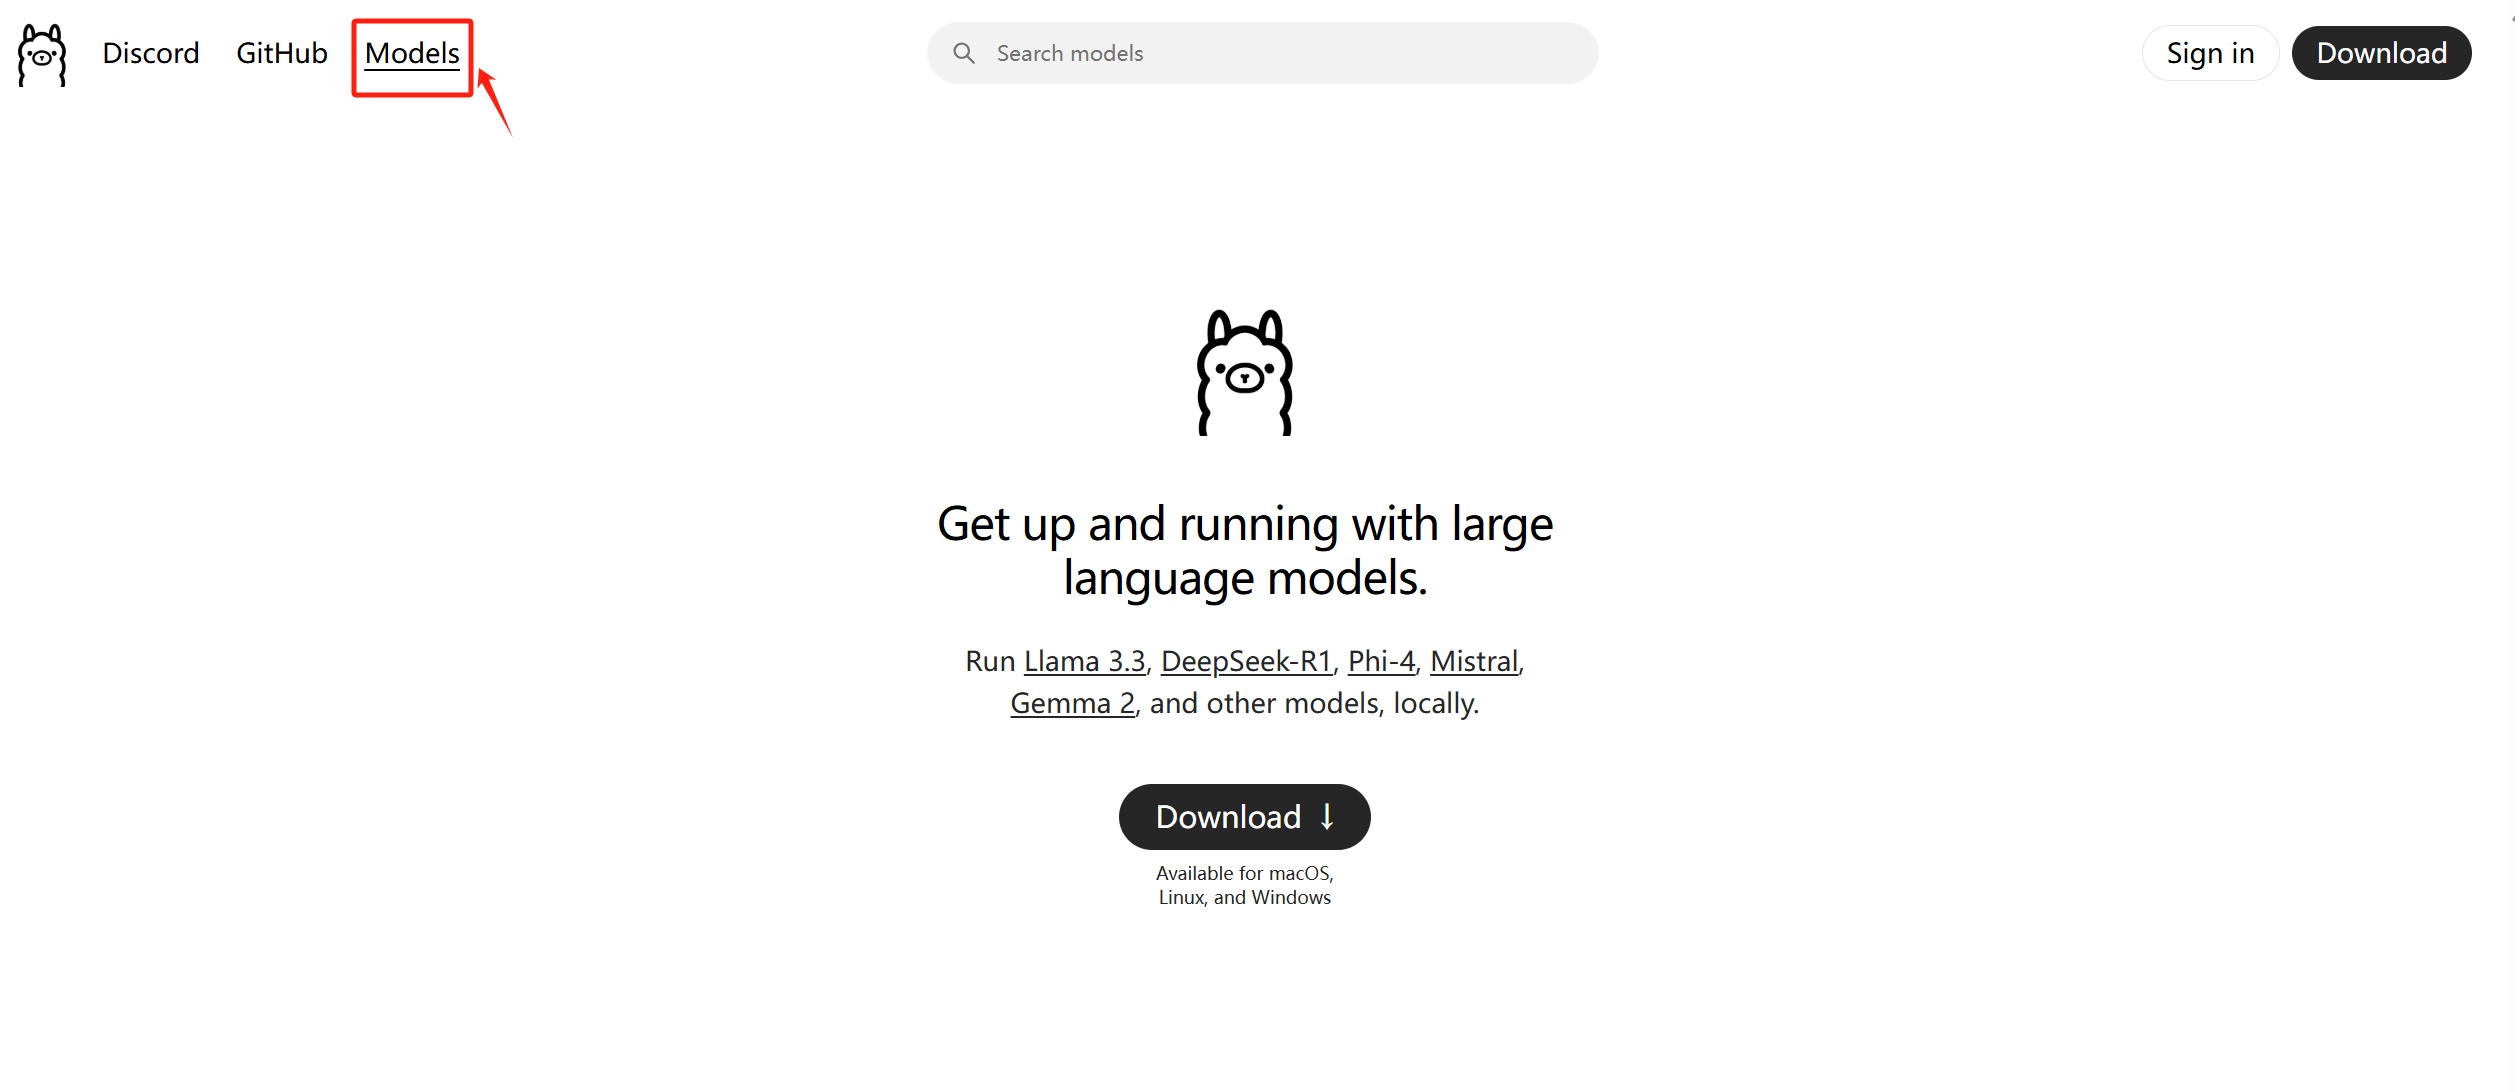
1. Go to Ollama official website: https://ollama.com下载模型, click "Models" in the upper left corner.
2. Select "deepseek-r1" model and click to view details.
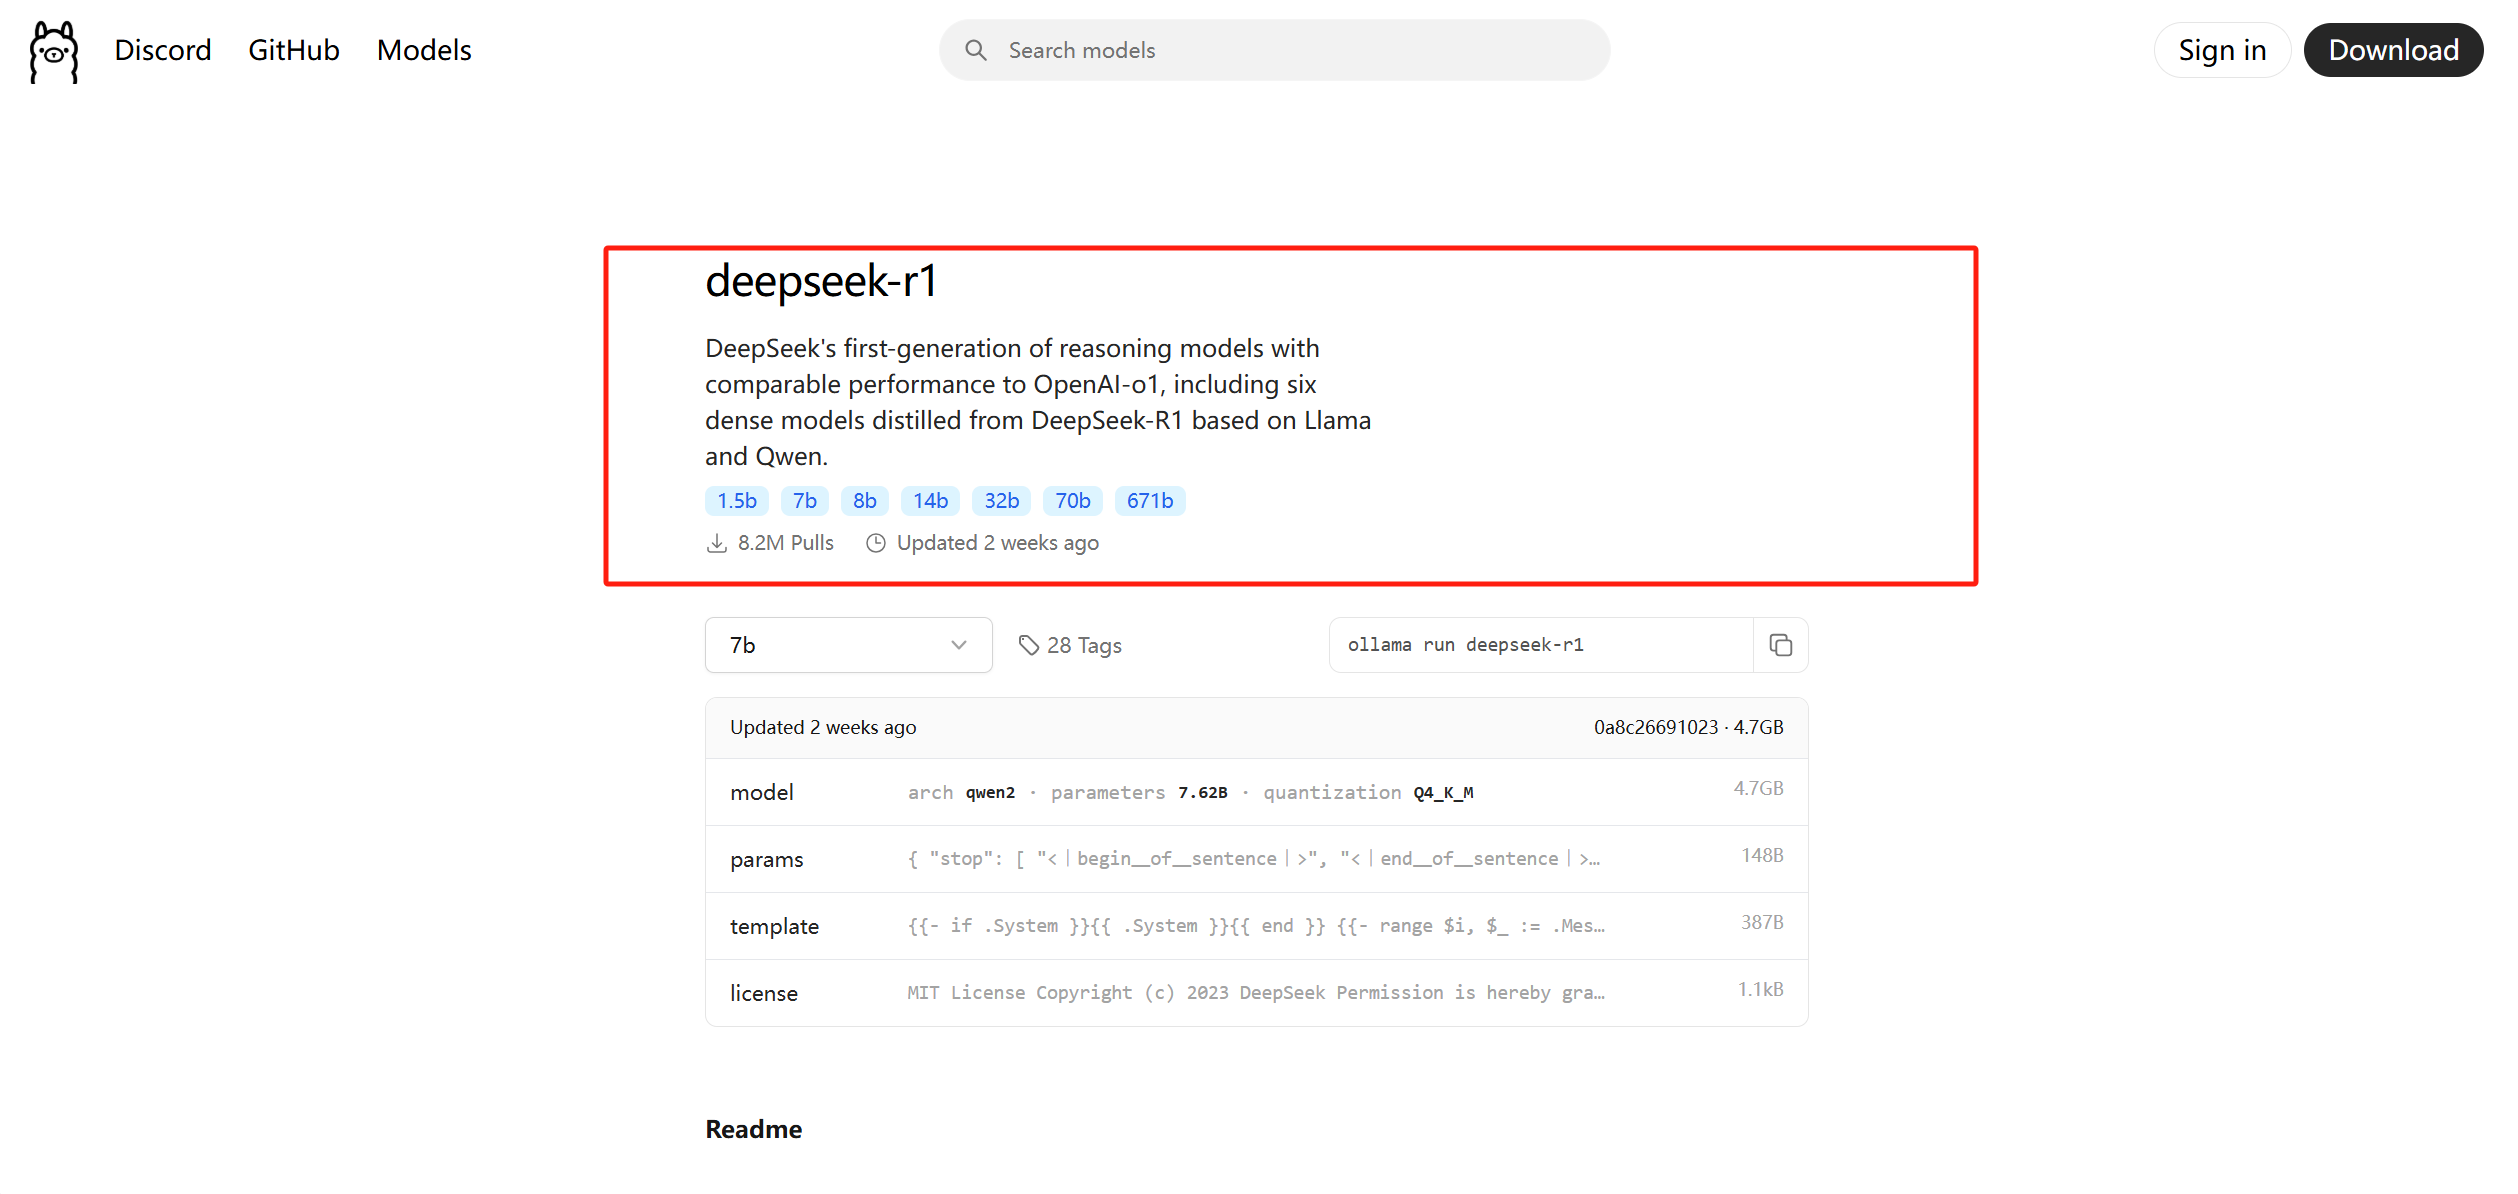
DeepSeek-R1 hardware requirements and instructions for each version:
-
The 1.5b model typically requires at least 8GB of RAM and is a lightweight version optimised for fast inference on edge devices.
-
7b-sized models typically require at least 16GB RAM, balanced models for general-purpose reasoning tasks.
-
8b-sized models typically require at least 32GB RAM and have higher accuracy and better contextual understanding.
-
14b-sized models typically require at least 64GB RAM, with improved reasoning and problem-solving capabilities.
-
32b-sized models typically require at least 128GB RAM, with stronger logical analysis and more granular step-by-step output.
-
70b-sized models typically require at least 256GB RAM for high-end versions of advanced AI-driven applications.
-
671b-sized models typically require at least 512GB RAM for Mixed-Mode of Expertise (MoE) models, which activate 37 billion parameters per token for state-of-the-art inference performance.
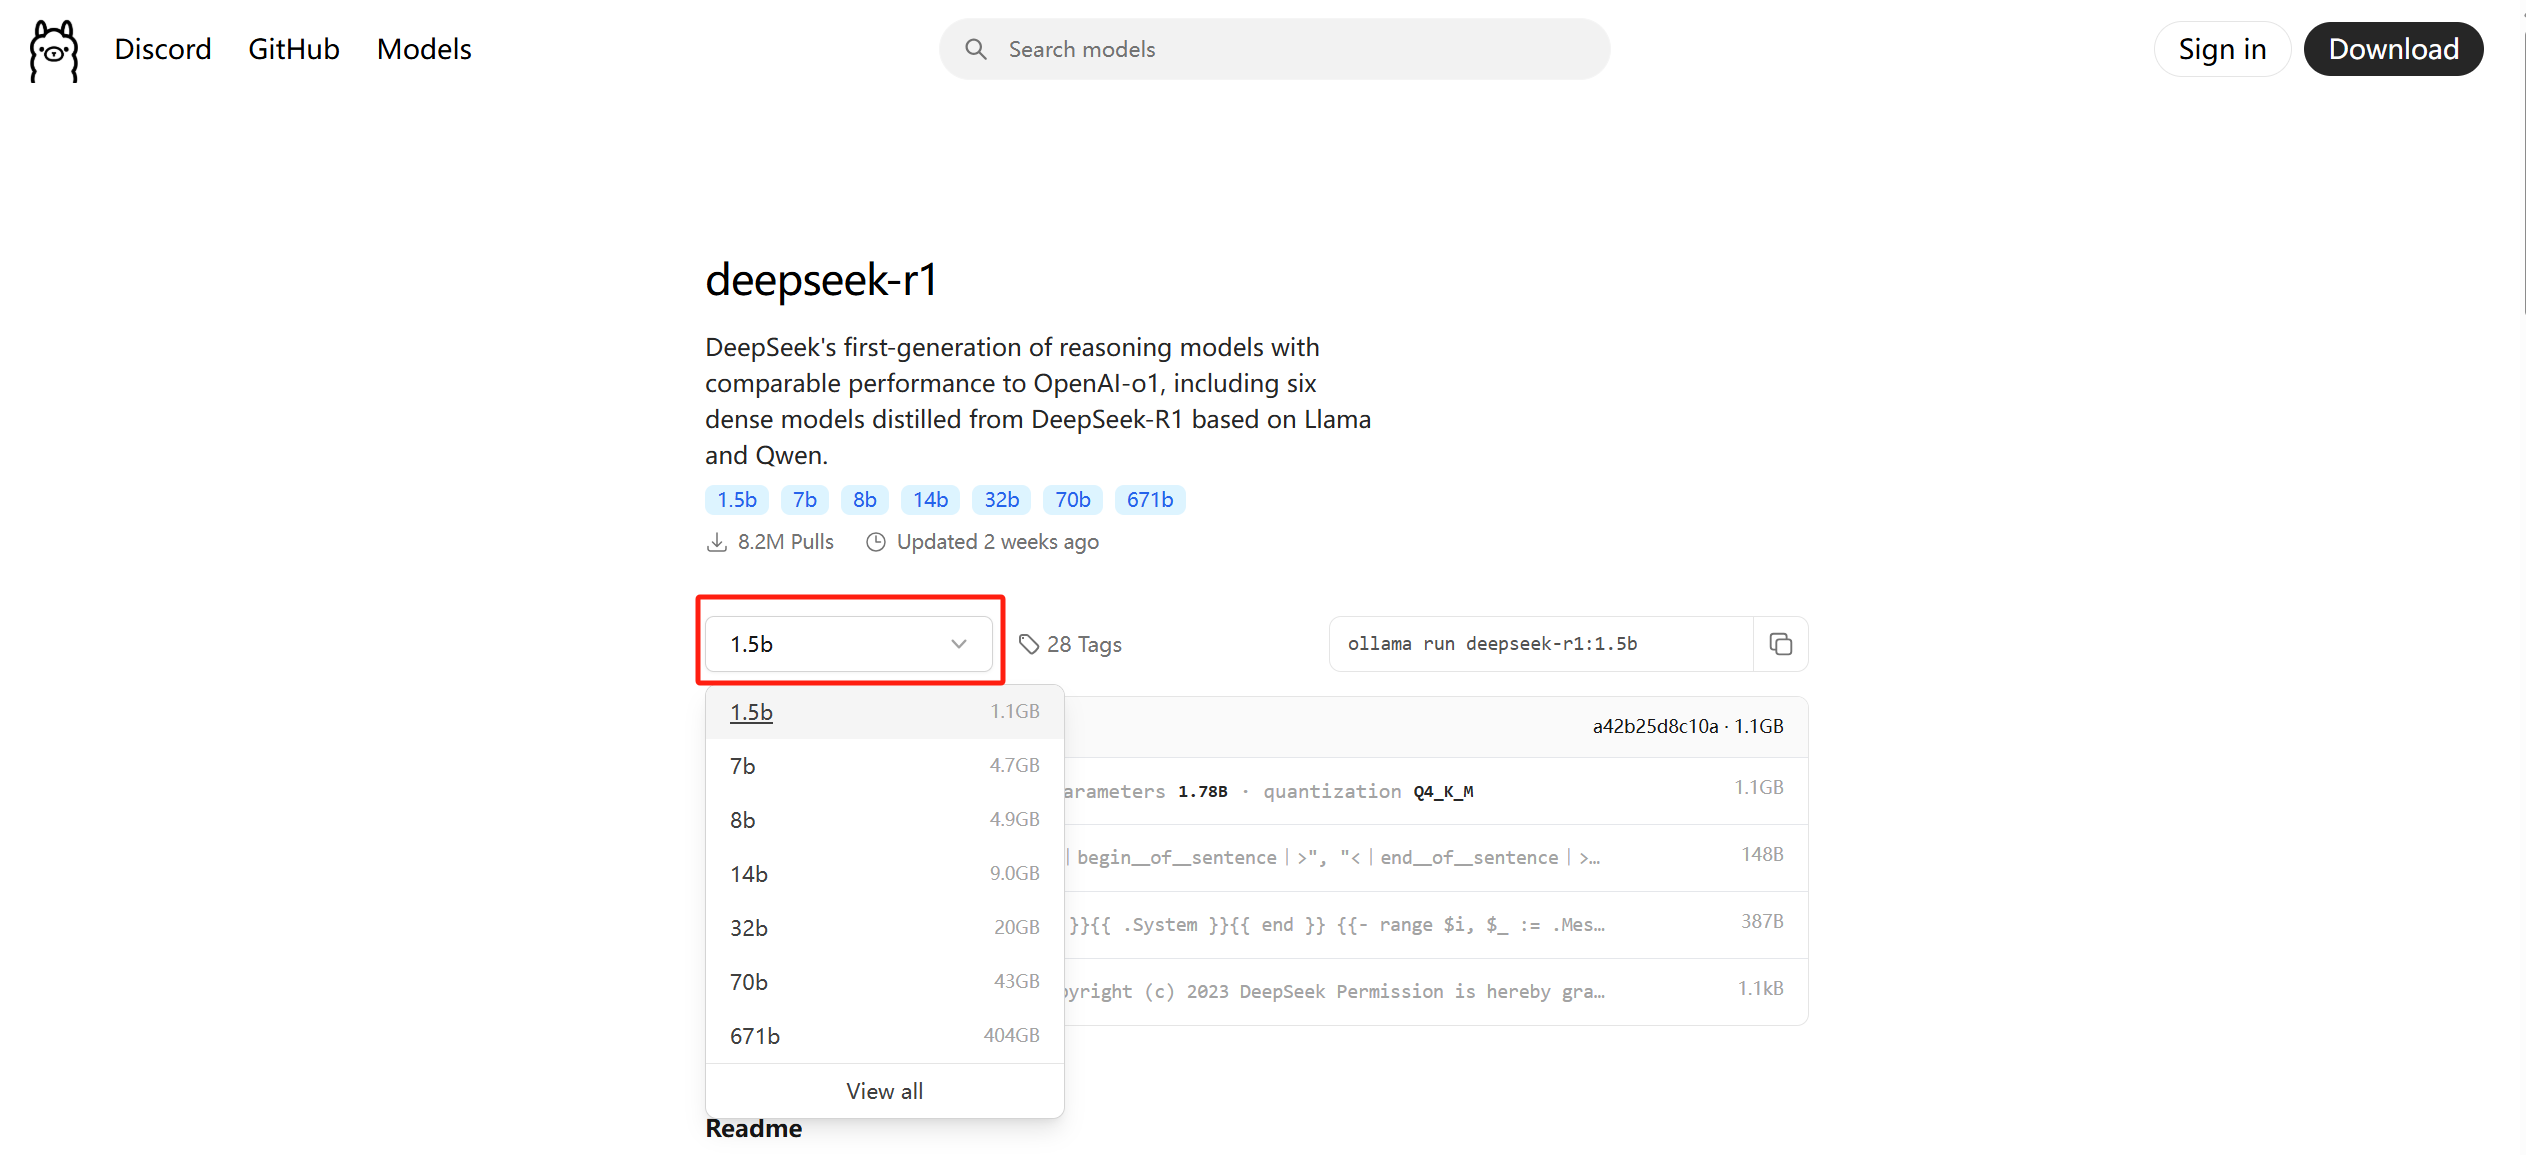
3. Here you choose the model size based on the NAS hardware configuration,if you don't specify it the default is 7B, for this tutorial we chose the 1.5B size model.
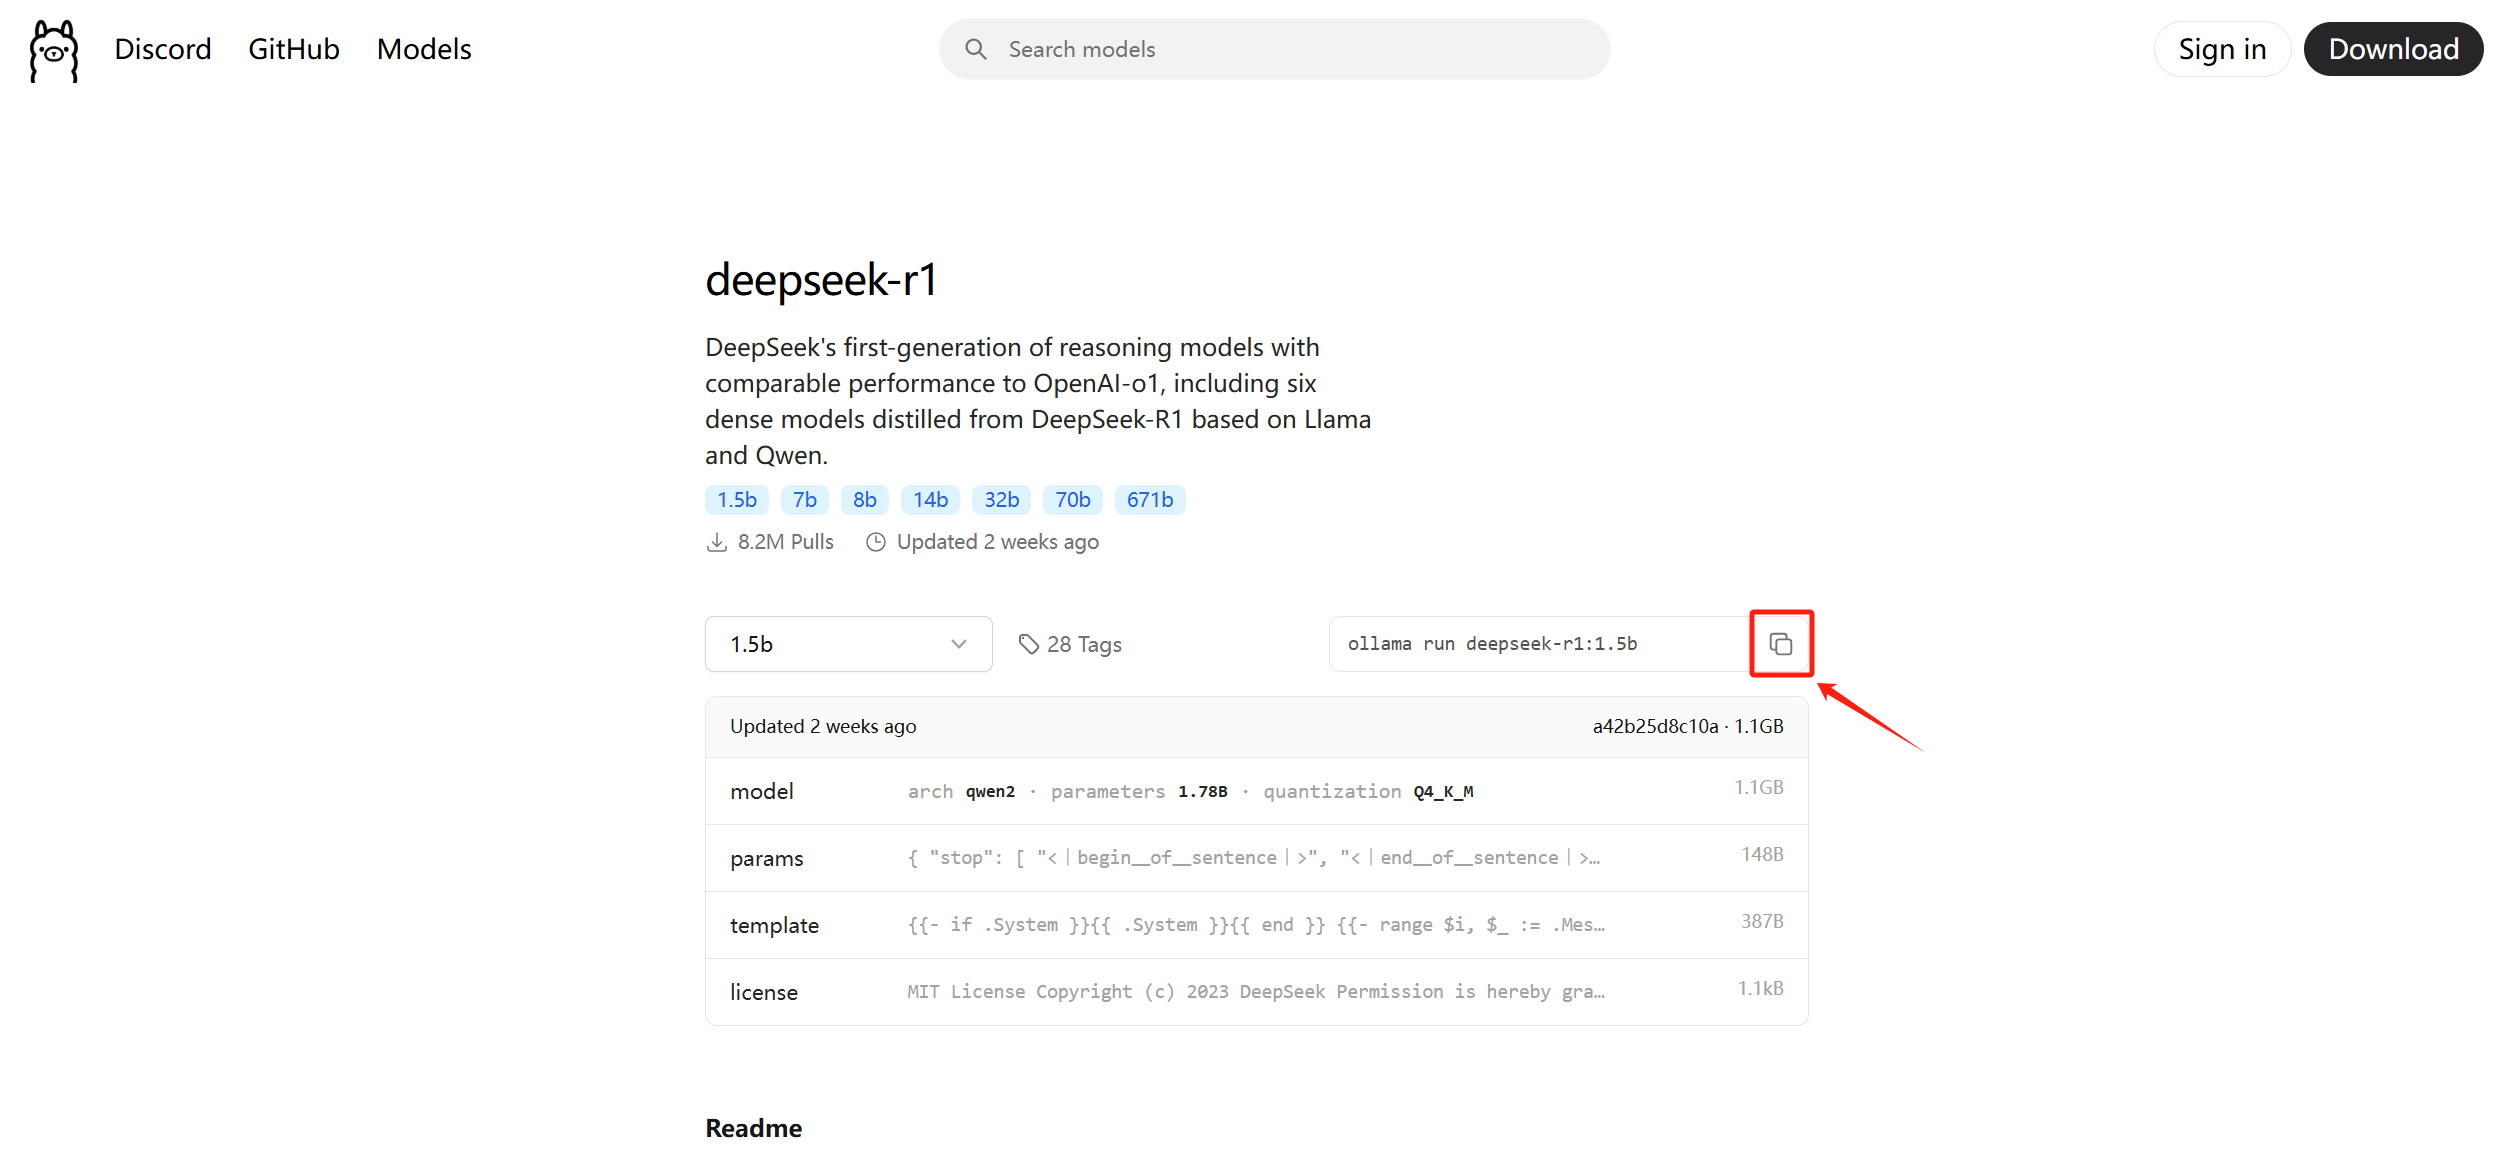
4. Copy thepullcommandollama run deepseek-r1:1.5bnext to it.
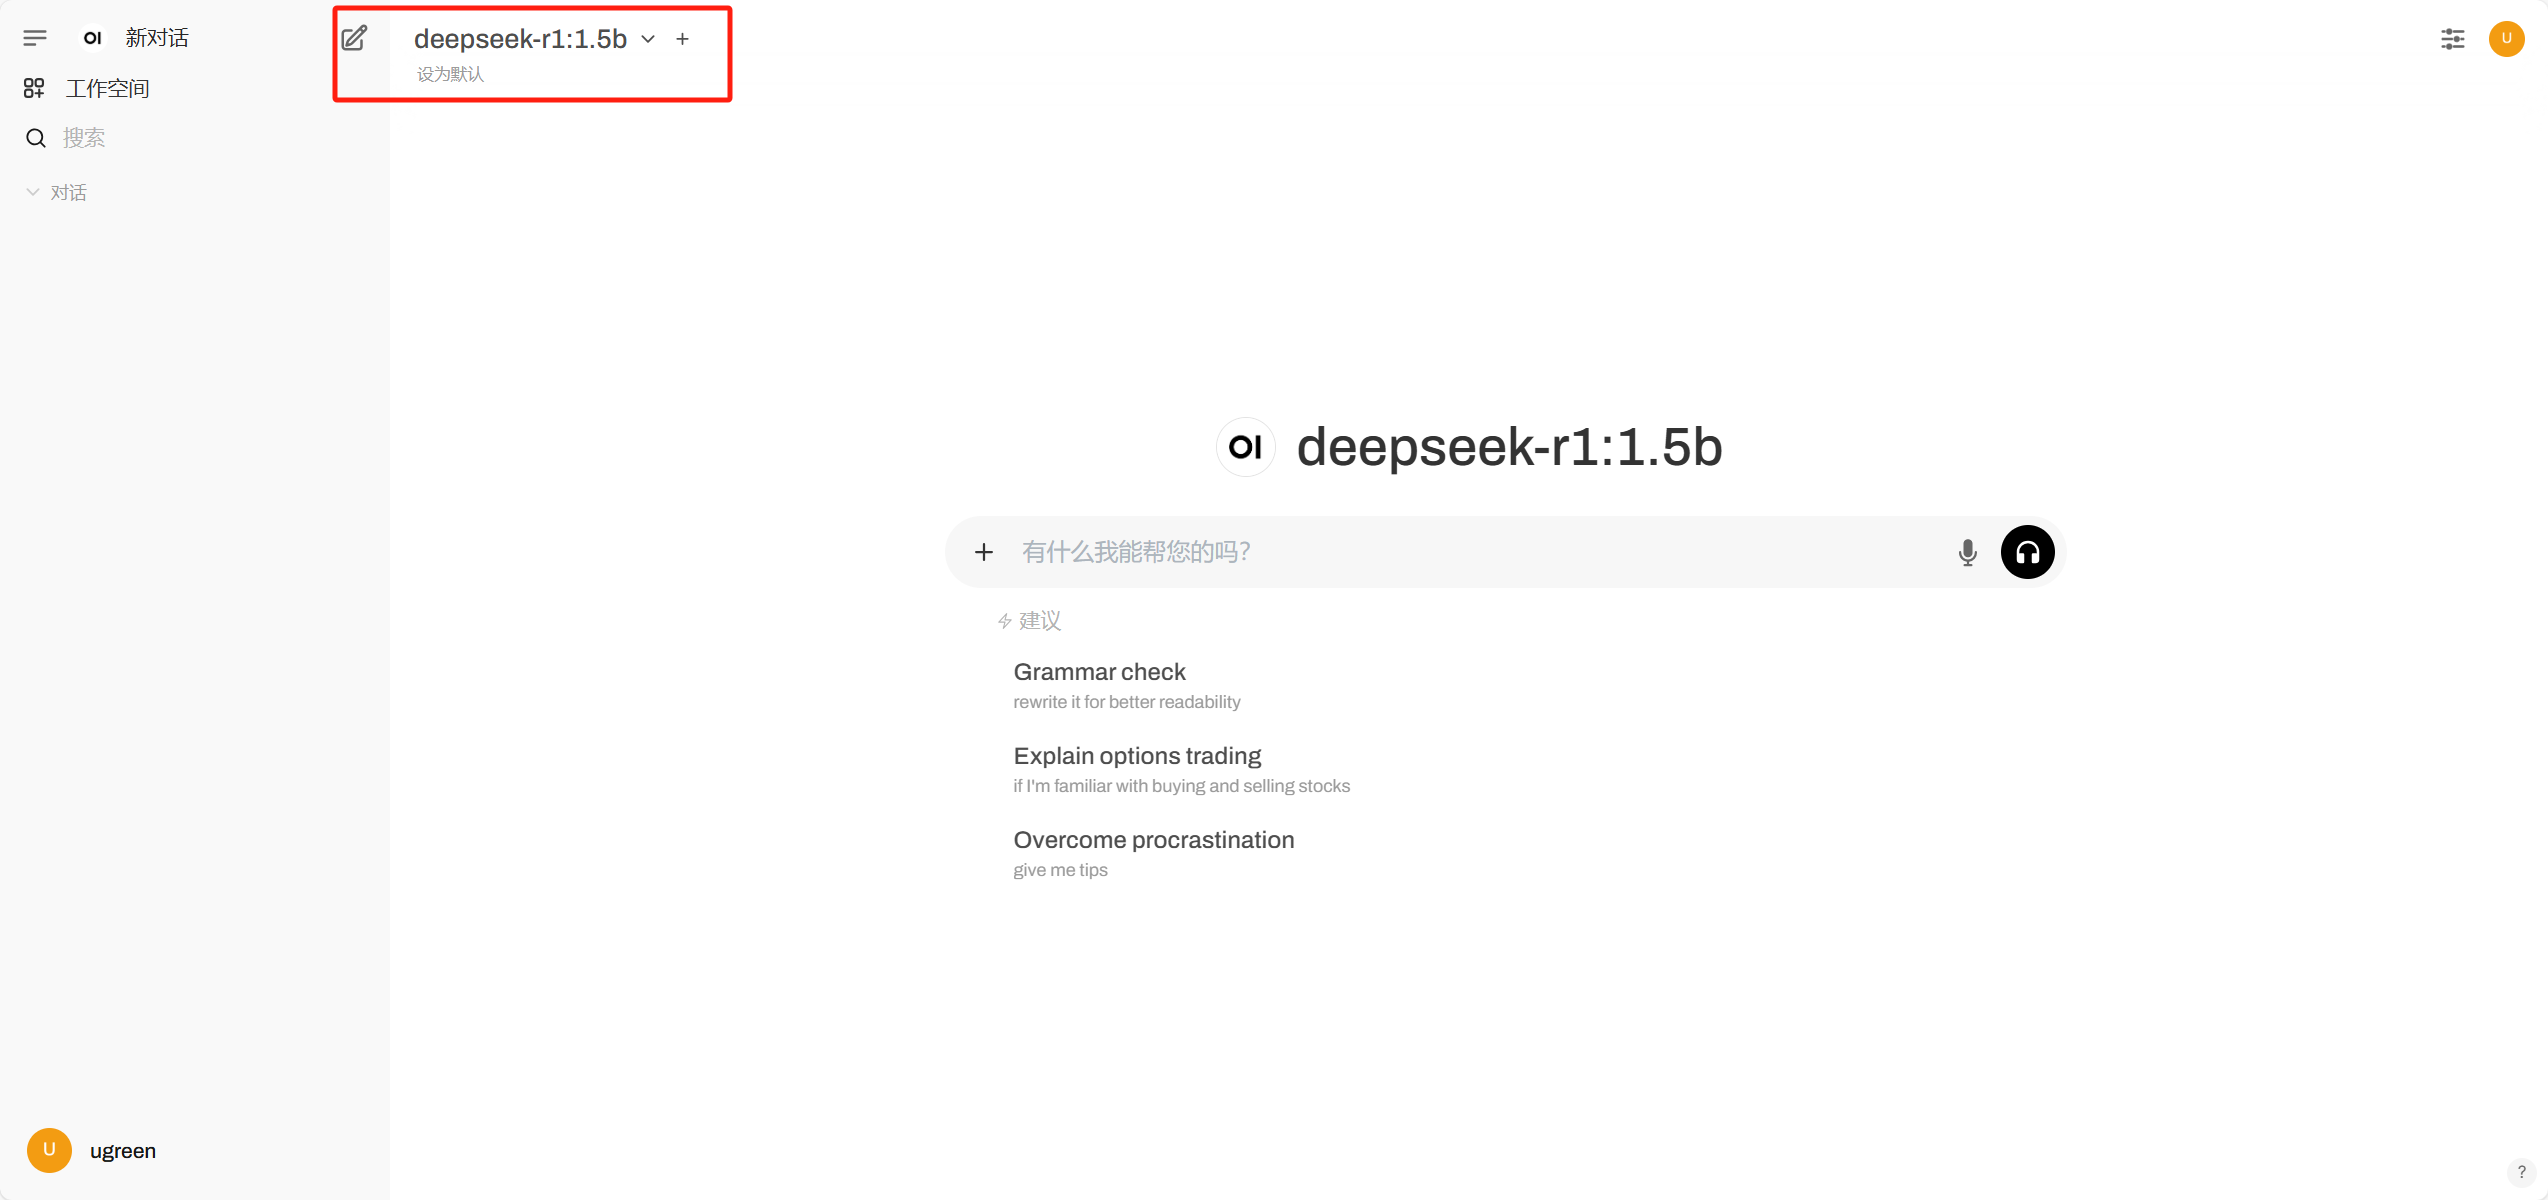
-
Log in to the web interface of Open WebUI, click the upper left corner of the search and enter the model name (e.g.:
ollama run deepseek-r1:1.5b) to download and use it directly.

-
(Optional) Or go back to the Docker application of UGOS Pro, go to [Containers] > select the Open WebUI container > click [Terminal] > Add Bash connection.
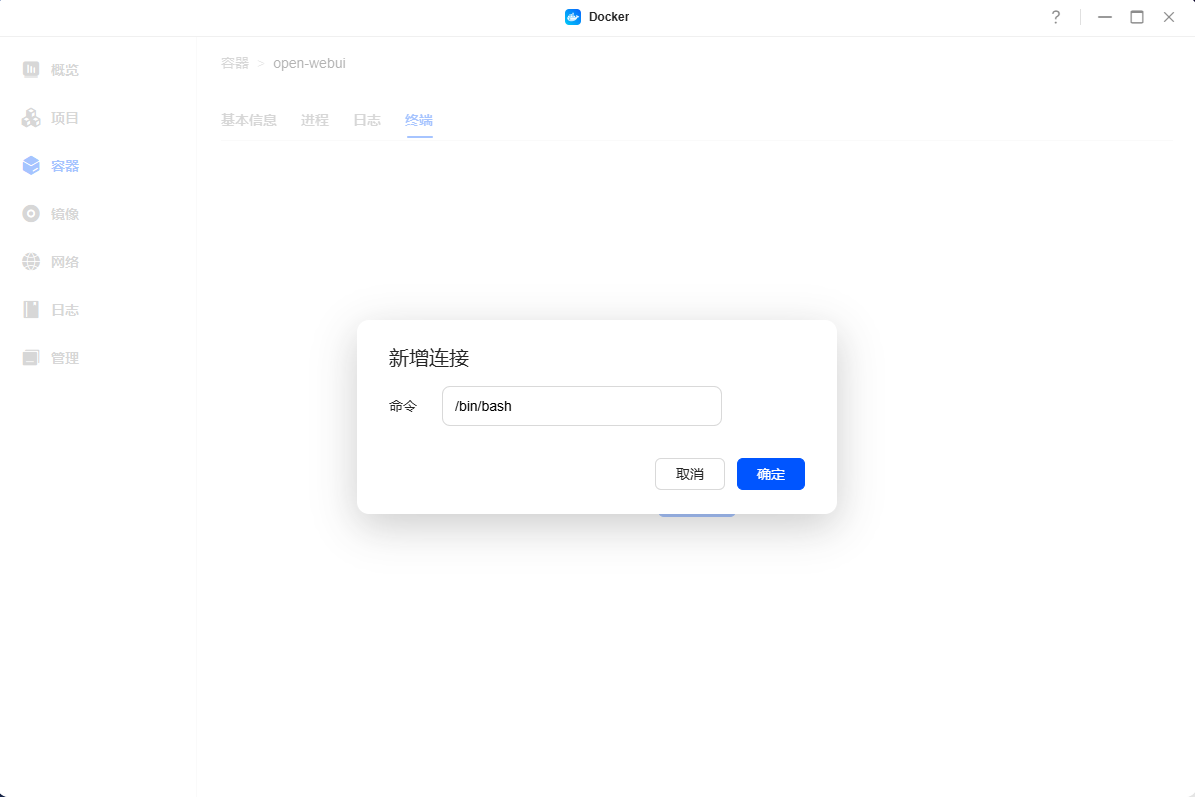
-
(Optional) Paste the pull command in the Bash terminal and wait for the model to finish downloading.
ollama run deepseek-r1:1.5b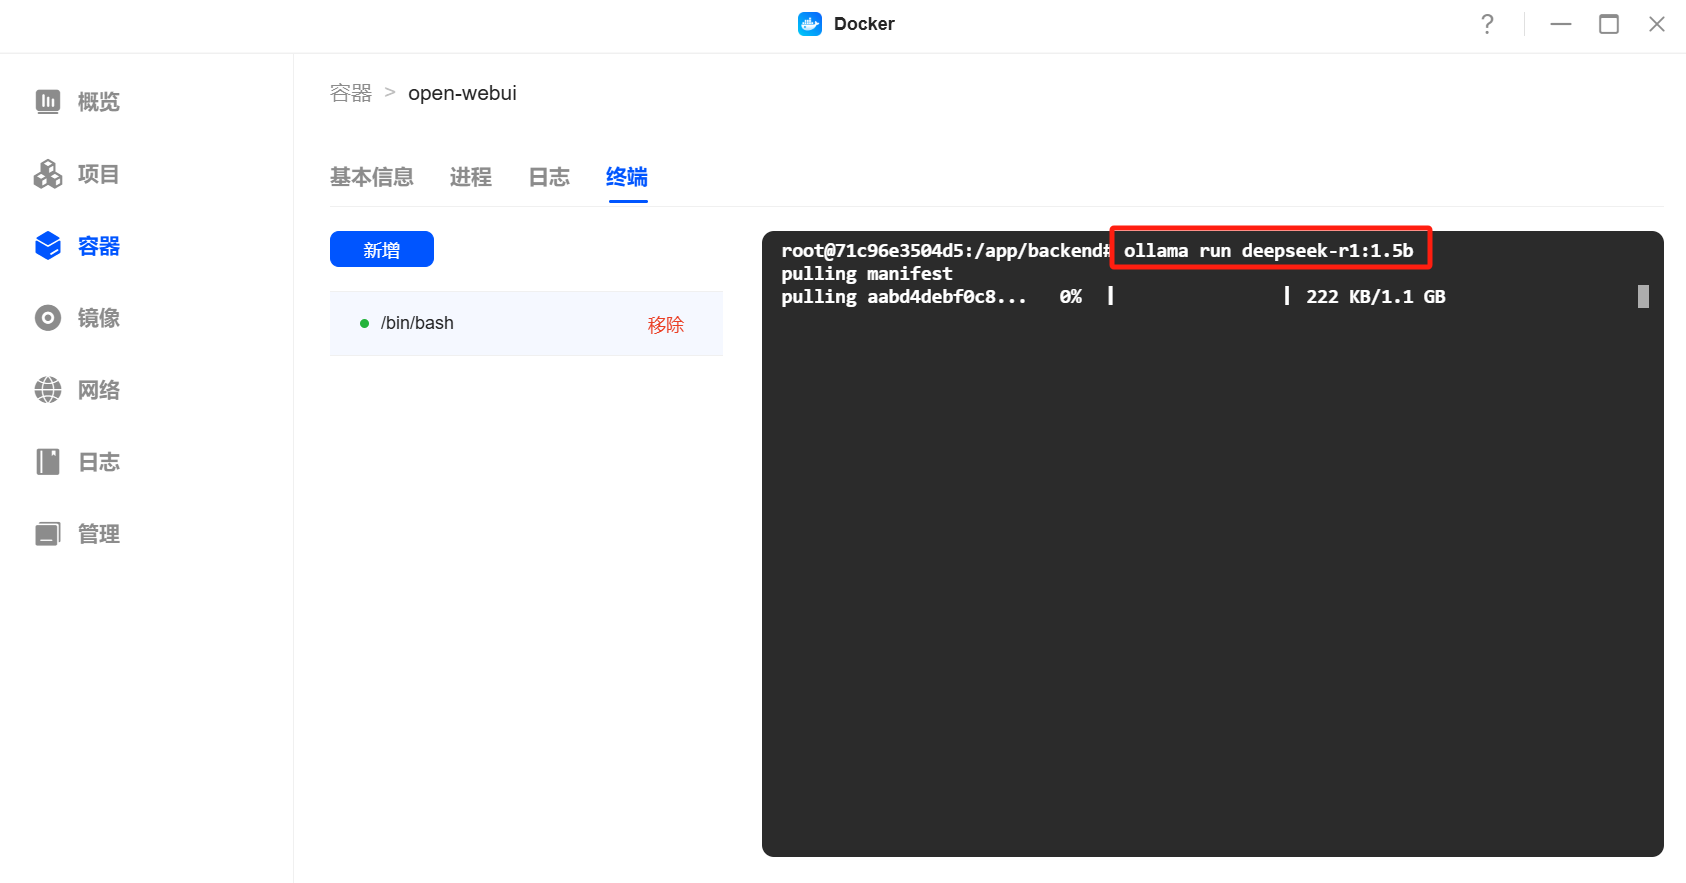
-
(Optional) Display success to indicate that the model download is complete and restart the container.
-
(Optional) Log in to Open WebUI and check whether the model has been loaded.
4. Using theDeepseek-R1 Model
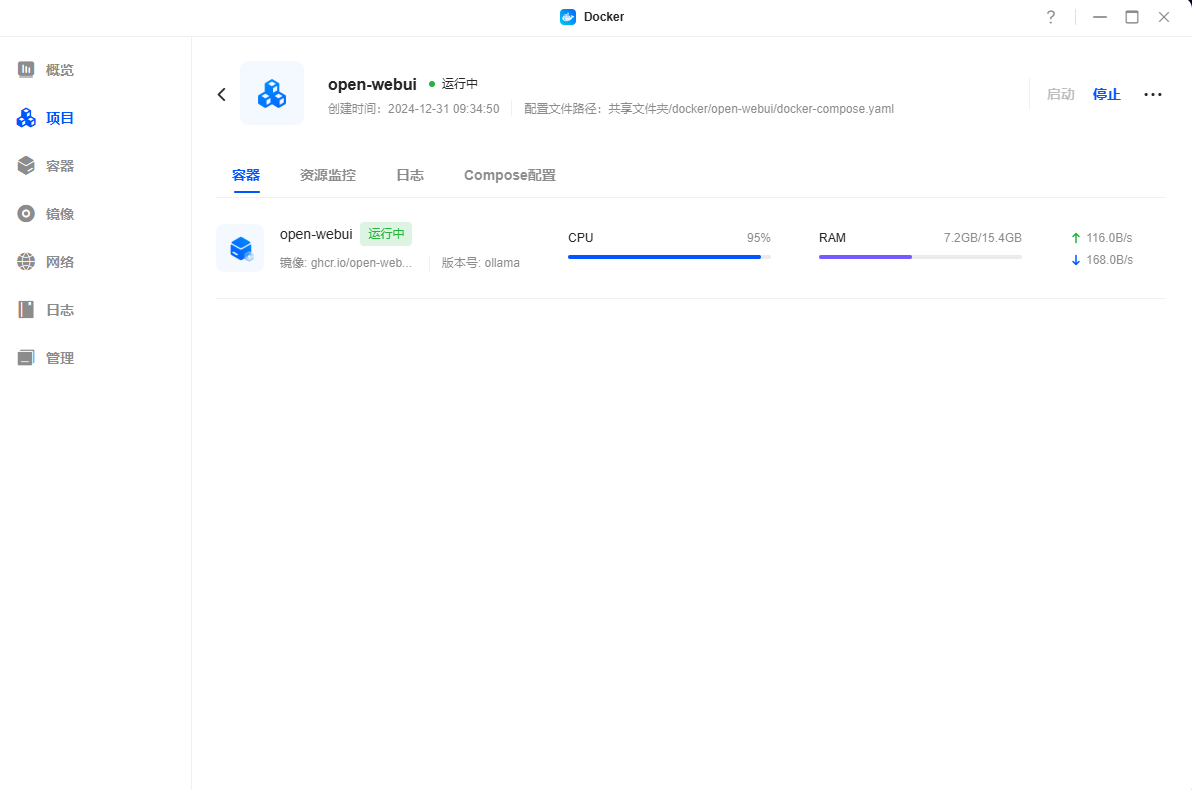
Use the model in a new dialogue by typing "hello world!" or some other question, and you can see that it is already working.
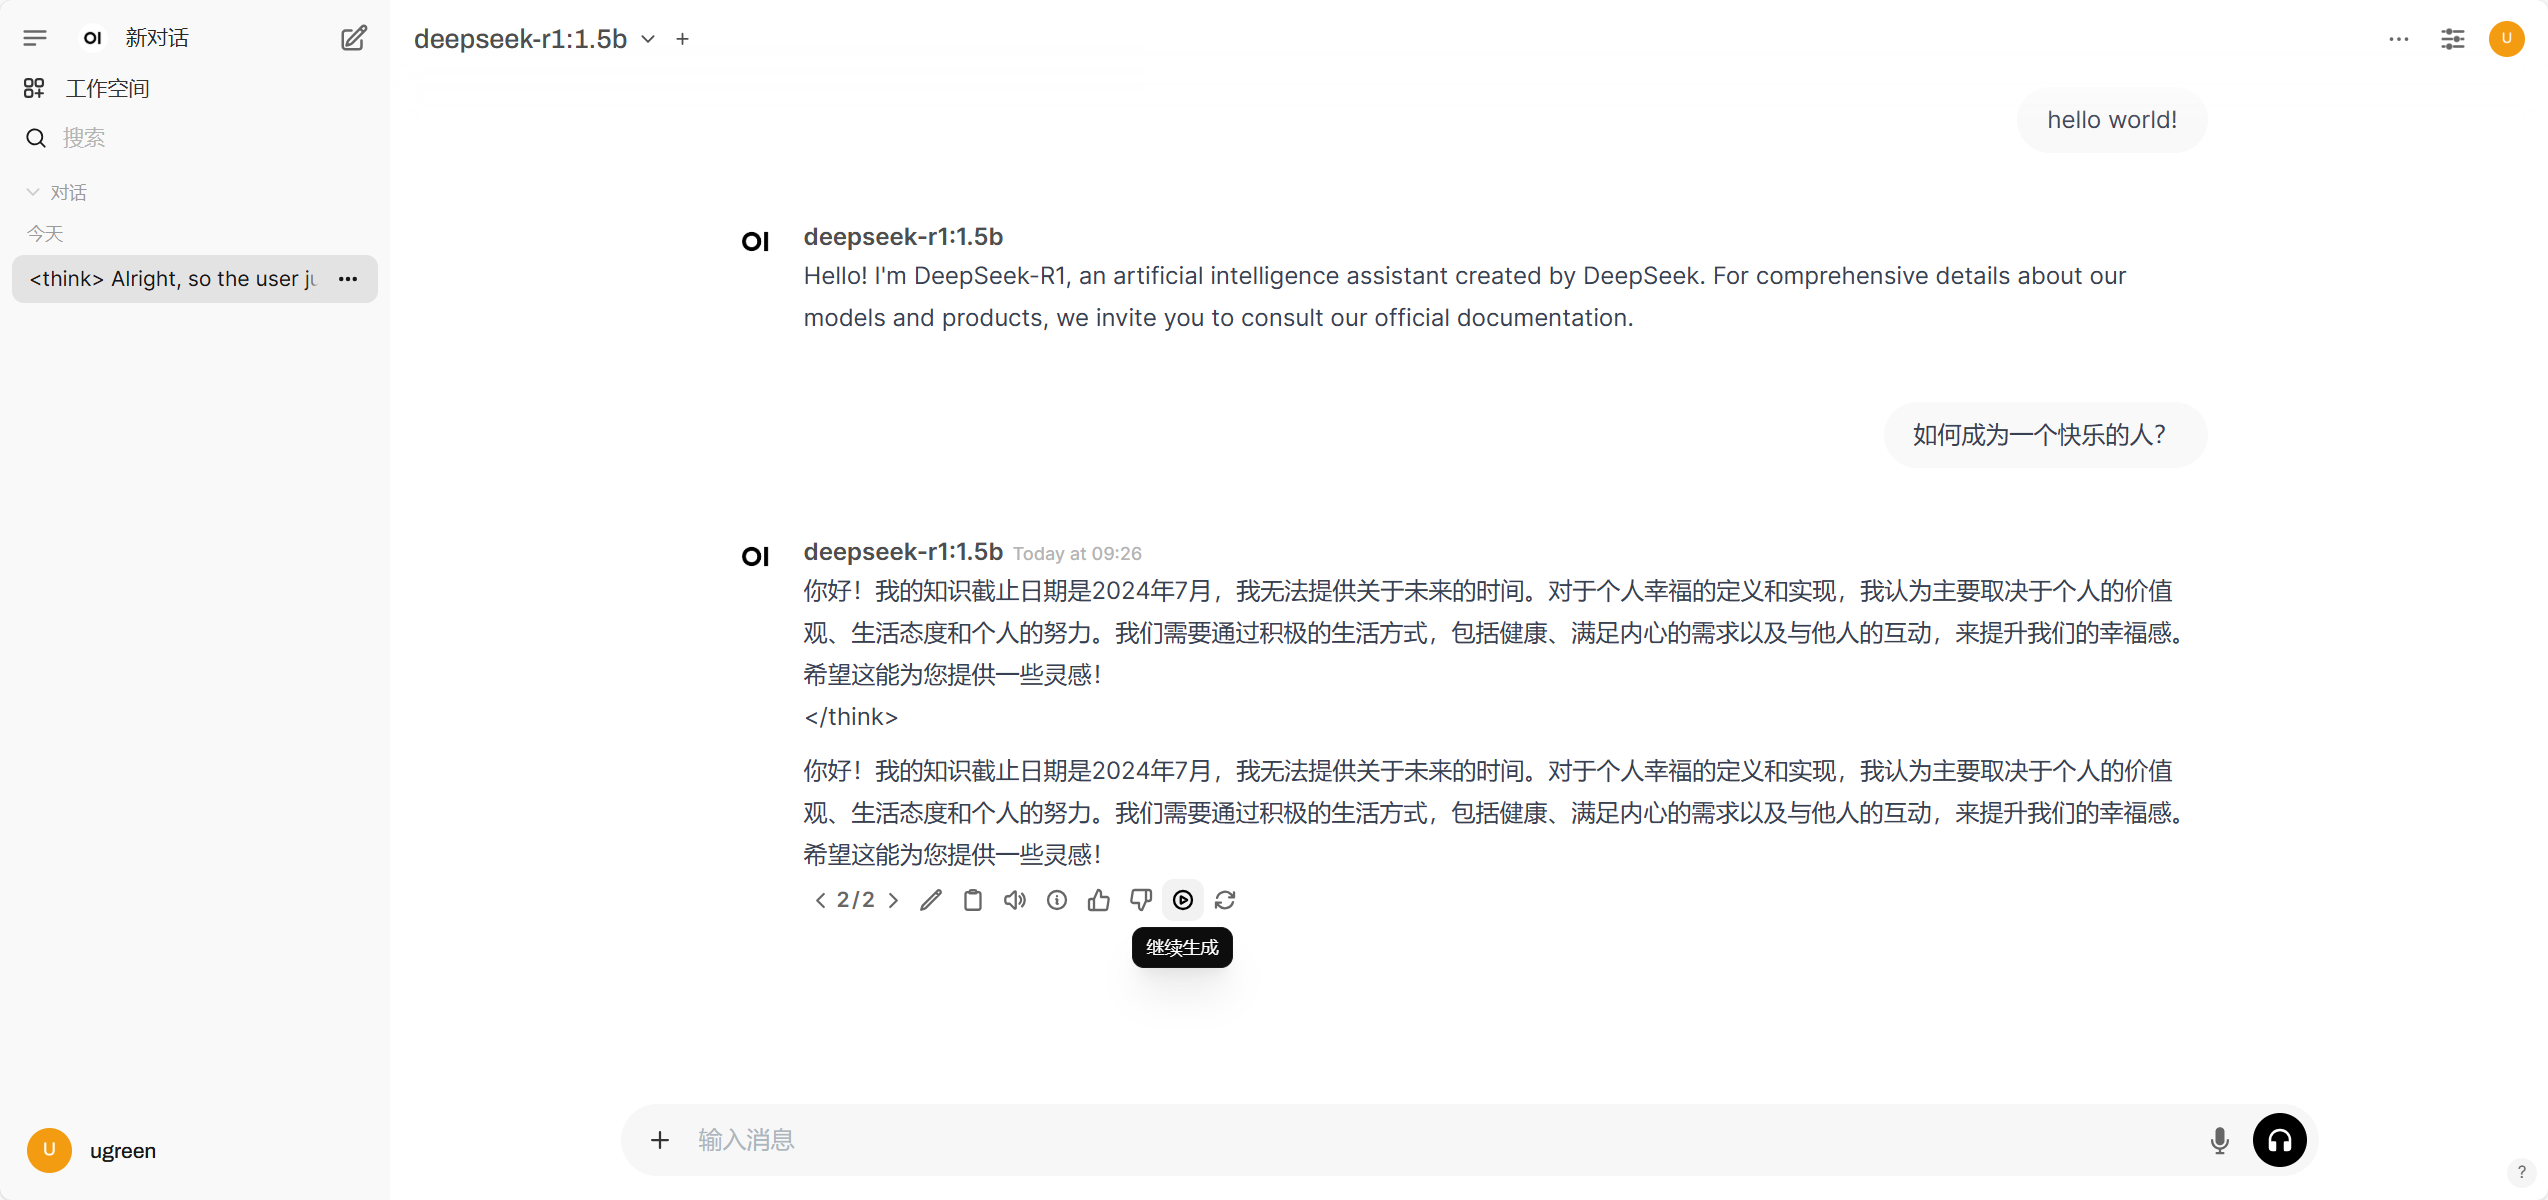
Please note: Deploying a large model will significantly increase the CPU and memory load on the NAS, and it is recommended to avoid using it in high load tasks.
5. Cautions
Please note that the images in this tutorial are developed and maintained by a third party, and the tutorial is for reference only. Greenlink does not assume the risk caused by user's improper operation, third-party software vulnerability or mirror update, including but not limited to:
- Third party mirrors may cause accidental modification or deletion of your files in the UGOS Pro system.
- The use of insecure mirrors may result in the uploading of data to third-party servers, posing a risk of privacy and data leakage.
- To ensure system stability and data security, please choose third-party mirrors from trusted sources carefully.
Other Precautions:
1. The file/folder path of the container is for reference only, you can create it according to your personal habits.
2. The container port and local port for web access should be the same. If there is any conflict, please change to an unused port. The local port cannot be the same between containers, port conflict will result in failure to start the container.
3. The web link to the container is only accessible in bridge mode.
4. Mirror only provides tutorials, please search online for specific usage and in-depth gameplay.
5. The mirror is developed by a third party, please pay attention to the relevant official information for specific configuration changes and bug fixes.
6. It is recommended to store the Docker configuration directory in an SSD hard drive to avoid mechanical hard drives affecting system performance.